Master the Hinge — Your 5-Day Path to a Stronger Pull [Day 1]
Nov 17, 2025 6:01 pm
🎉 Happy Birthday to Coach Tasha!
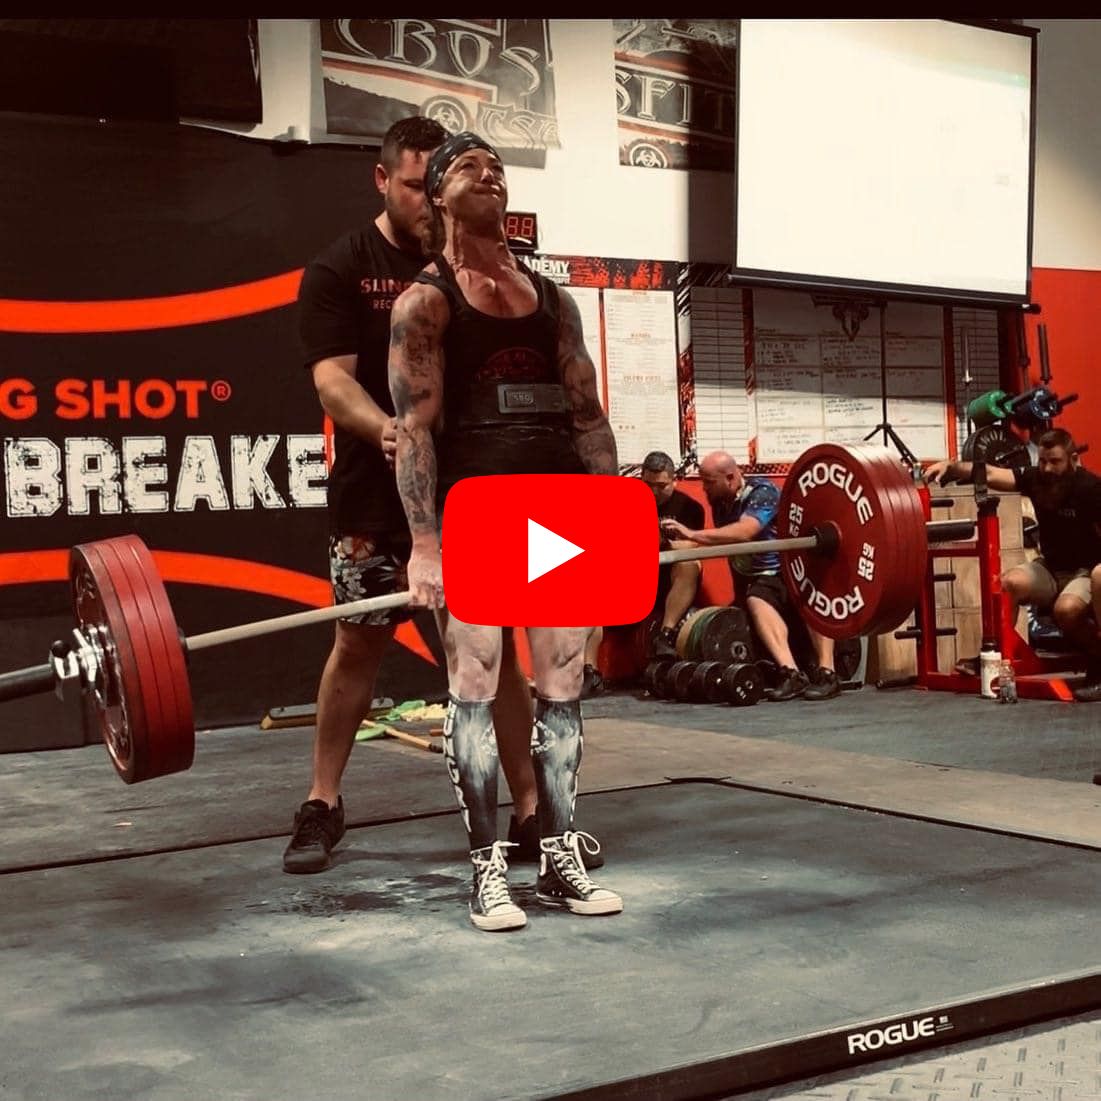
Video of Coach Tasha deadlift 501.5 pounds at under 148 pounds bodyweight
The barbell deadlift is one of her all-time favorite lifts. But she didn't start here — she built this pull the same way we teach everyone: Learn the pattern. Load it smart. Lift with confidence.
Over the next 5 days, we're breaking down our Learn-Load-Lift system — the exact progression for building a strong, pain-free deadlift that lasts.
Here's what's coming:
- Day 1 (Today): Assess your starting point + master the foundation of safe lifting
- Day 2: Learn the pattern with bodyweight progressions
- Day 3: Add load intelligently without sacrificing form
- Day 4: Transfer your skills to the barbell
- Day 5: Program it for long-term strength + troubleshoot common issues
Let's get started !
Master the Hinge — From Bodyweight to Barbell
The Learn-Load-Lift Deadlift System
Picture this: You're at the gym watching someone load up a barbell for deadlifts. They approach the bar, grab it, and immediately their back rounds like a scared cat. They grunt, they strain, they somehow get the weight up — and you wince knowing that's not going to end well.
Now picture the lifter next to them: They set up with intention, create tension throughout their body, and pull the weight smoothly off the floor like it's choreographed. Same exercise. Completely different execution.
What's the difference? One learned the pattern before loading it.
Deadlifts don't break backs — they build them. But here's the truth most people skip: You can't load what you haven't learned.
The hip hinge is the foundation of every strong, pain-free deadlift. It's the skill that protects your spine, powers your posterior chain, and transfers to everything from picking up groceries to pulling heavy weight.
Most people rush to the barbell. Smart lifters build the pattern first — then load it.
This course walks you through the exact progression we use with clients to build a bulletproof hinge — from Day 1 to PRs. No skipping steps. No winging it. Just a clear path from learning the movement to owning it under load.
Why the Hip Hinge Comes First
Before you deadlift, you hinge. Before you hinge with weight, you hinge with intention.
The hip hinge teaches your body:
✅ How to move from the hips — not the lower back
✅ How to maintain a neutral spine under tension
✅ How to activate glutes and hamstrings as the primary movers
✅ How to create full-body tension before pulling
When you own the hinge pattern, deadlifting becomes instinctive. When you skip it, every rep is a gamble.
Breathing & Bracing: The Foundation of Safe Loading
Before you can load the hinge properly, you need to understand how to create spinal stability through breathing and bracing. This isn't just "take a deep breath" — it's a coordinated system that protects your spine under load.
Understanding 360° Breathing
Most people breathe into their chest and shoulders, creating tension in the neck and failing to stabilize the spine. Proper bracing starts with 360° breathing — expanding your ribcage and abdomen in all directions, not just forward.
How to practice 360° breathing:
- Place each hand on your lower ribs (sides)
- Inhale through your nose, directing air into your belly AND sides
- You should feel expansion front, back, and both sides — like inflating a balloon in your torso
- Your shoulders shouldn't rise significantly
- Exhale slowly and feel everything deflate
Why this matters: This creates intra-abdominal pressure (IAP) that stabilizes your spine like a pressurized cylinder. The more evenly you distribute this pressure, the more stable your spine becomes.
The Bracing Sequence
Bracing isn't just breathing — it's breathing + tension. Here's the sequence:
- Set your position
Get into your starting hinge position with neutral spine, good hip hinge, and proper setup.
- Breathe INTO the brace
Take a 360° breath into your belly and ribs. Think "fill the tank."
- Lock it down
Before pulling, bear down like you're bracing for a punch to the gut. This locks the air in place and creates rigidity through your trunk. Some people cue "pull your ribs down" or "tighten your belt" to engage the anterior core.
- Maintain tension through the lift
Hold this braced position through the entire rep — from floor to lockout. Don't lose tension at the top.
- Reset at the top
At full lockout, you can exhale and reset for the next rep. For heavy singles or low-rep work, many lifters re-brace at the top before lowering. For higher-rep sets, you might maintain the brace across multiple reps.
Common Bracing Mistakes
❌ Breathing into the chest/shoulders
Fix: Practice 360° breathing lying on your back first, then transfer to standing
❌ Holding breath without creating tension
Fix: Think "brace AND breathe," not just "hold your breath"
❌ Losing the brace mid-rep
Fix: Reduce the load and focus on maintaining tension through the entire range of motion
❌ Over-extending the lower back when bracing
Fix: Cue "ribs down" or "exhale slightly to set ribs" before creating the brace
❌ Bracing too late (after already starting to pull)
Fix: Practice the sequence: Position → Breathe → Brace → Pull
How Bracing Changes Across Stages
Stage 1 (Learning the Pattern):
Focus on breathing mechanics without load. Practice 360° breathing in the hinge position. You're not bracing maximally here — you're learning where to breathe and how to maintain a neutral spine with breath.
Stage 2 (Adding Load):
This is where you integrate true bracing. The load demands stability, so you'll practice the full sequence: breathe, brace, lift. Start light and focus on maintaining the brace through each rep.
Stage 3 (Barbell Work):
Bracing becomes automatic and maximal. Heavy loads require maximal bracing before every rep. You'll develop a consistent pre-lift routine that includes your bracing sequence.
Bracing Cues That Help
- "Big belly breath" — Encourages breathing into the abdomen
- "Fill the sides" — Promotes 360° expansion
- "Ribs down" — Prevents overextension of the lower back
- "Brace or bear down like someone's about to punch you" — Creates appropriate tension
- "Lock it in" — Reminds you to create rigidity before pulling
Good bracing isn't optional — it's the difference between a safe lift and a risky one. Master it early, and every stage becomes safer and more effective.
Where to Start: Screen Before You Program
Here's what most beginner coaches get wrong: they make assumptions instead of assessments.
Mistake #1: Forcing everyone to start at Stage 1
Wasting training time on rudimentary patterns that proficient movers don't need.
Mistake #2: Jumping straight to Stage 3
Loading the barbell before the foundation is built, hoping technique will "figure itself out" under load.
Both extremes miss the point: meet people where they are, not where you think they should be.
Instead, start with a simple movement screen:
The Lightly Loaded RDL Screen
This isn't a passive observation — it's an active coaching opportunity.
Some schools of thought say screens should capture "natural" movement without any coaching. We disagree. We're coaches by trade, and our expertise exists to help people move better from rep one. The screen isn't about watching them fail — it's about seeing how they respond to coaching and load.
Setup:
• Start with a light dumbbell or kettlebell (10–20 lbs for most people)
• Have them hold the weight in both hands at thigh level
• Feet hip-width apart, weight balanced mid-foot
The Screen: Ask them to perform a Romanian Deadlift (RDL) — hinge at the hips, lower the weight down the front of their legs, then return to standing.
What You're Looking For:
✅ Vertical shins — The movement comes from the hips, not the knees. Shins stay relatively perpendicular to the floor throughout the movement.
✅ Posterior hip shift with slight knee bend — Hips push back (not down), knees soften but don't dive forward. Think "reaching back" not "sitting down."
✅ Neutral spine — No excessive rounding (flexion) or arching (extension) in the lower back. The spine maintains its natural curves. Movement is generated from the hips, not the spine.
✅ No unwanted rotation or lateral shifts — Knees track in line with toes (no collapse inward), feet stay rooted (no rolling to inside or outside edge), hips stay level (no hiking or shifting weight to one side).
✅ Vertical load path — The weight stays close to the body and travels straight up and down. It shouldn't swing away from the body or loop outward.
✅ Body awareness and confidence — They can feel where they are in space, they move with control (not hesitation or fear), and they can repeat the movement consistently.
Coaching Cues to Use During the Screen:
These cues help you see how coachable the movement is and whether the person can integrate feedback in real-time:
- "Exhale and draw the ribs down" — Helps establish core position and prevents overextension of the lower back
- "Tickle defense" — Cue them to keep their lats engaged (imagine protecting their armpits from being tickled). This creates upper back tension and keeps the weight close to the body
- "Reach your hips back like you're closing a car door with your hands full" — Promotes the posterior hip shift without overthinking the movement
- "Root your feet" — Encourages them to grip the floor with their feet, creating a stable base and preventing foot collapse
Interpreting the Results:
If the movement looks good and feels good:
→ They can bypass Stage 1 and start at Stage 2 or Stage 3 depending on proficiency
→ Increase load or progress to a more challenging variation
→ The pattern is there — now it's time to build strength
If coaching cues improve the movement significantly:
→ They have the physical capacity but need motor control refinement
→ Consider starting at Stage 1 with light load to groove the pattern with feedback
→ Progress quickly once the pattern clicks
If the movement breaks down or causes discomfort:
→ Note where the breakdown occurs (spine position? knee collapse? weight path?)
→ Ask: Is there a coaching opportunity that can immediately improve this movement?
→ Try tactical coaching interventions before regressing:
Common Breakdowns & Coaching Fixes:
Weight shifts forward / struggles with posterior hip shift:
Add a front-loaded band (RNT - Reactive Neuromuscular Training) attached to the load or wrists. The band pulls them forward, forcing them to resist and push back. This creates the posterior shift reflexively.
Soft lockout or limited hip extension:
Add a band around the waist (anchored behind them) to promote full hip extension driven from the glutes. The band provides a slight assist pulling the hips into greater extension and teaches what a complete lockout should feel like.
Lats disengaged / weight drifts away from body:
Use the same front-loaded band setup as above. The forward pull forces them to engage their lats to keep the weight close, teaching them to actively "pull the weight into the body." Pair with the "tickle defense" cue.
Chest drops / loses neutral spine:
Cue the sternum: "Keep your chest proud" or "sternum up and forward." Sometimes cueing the eyes helps: "Look at the horizon, not down at the floor."
Head position issues (looking up or down excessively):
Cue the eyes to a neutral focal point about 6-10 feet in front of them. "Where your eyes go, your head follows."
If these interventions clean up the movement, they may be able to start at Stage 2 with those coaching strategies in place. If the breakdown persists despite coaching:
→ They're still training — just focusing on building the foundation first
→ Drop back to bodyweight variations at Stage 1 to teach the standing hinge pattern
→ Use the coaching cues and interventions above to help them feel the correct positions
→ Meanwhile, they can still train hip extension strength with exercises like glute bridges, hip thrusts, or kneeling banded hip thrusts
→ These exercises build the posterior chain musculature that supports the hinge pattern without requiring the same motor control demands
Everyone gets to train. What that training looks like depends on their current movement ability.
Smart coaches meet clients where they are — not where the template says they should be. The screen tells you the starting point. The coaching tells you the path forward.
Now that you understand how to assess movement quality and identify starting points, let's translate that assessment into action. The following decision tree will help you choose your entry point and begin building your deadlift foundation immediately.
Quick Start Guide
Not sure where to begin? Use this decision tree:
✅ You passed the lightly loaded RDL screen with good form:
→ Start at Stage 2 (loaded hinges) or Stage 3 (barbell work) depending on your training experience
→ Focus on building strength and refining technique under load
✅ You passed the screen but needed coaching cues to clean up the movement:
→ Start at Stage 1 with light load
→ Spend 2-4 weeks grooving the pattern with feedback
→ Progress to Stage 2 once the movement becomes automatic
✅ The movement broke down despite coaching interventions:
→ Start at Stage 1 with bodyweight variations
→ Build the motor pattern before adding load
→ Supplement with hip extension exercises (glute bridges, hip thrusts) to build strength
✅ You're already deadlifting but want to refine technique:
→ Use Stage 2 exercises as technique days in your program
→ Film your lifts to identify specific breakdowns
→ Address weak points with targeted variations from the appropriate stage
✅ You're coming back from injury or a long break:
→ Start at Stage 1 regardless of previous ability
→ Rebuild the pattern with intention
→ Progress quickly if movement quality is there, but don't skip steps
Remember: Stages aren't linear. You might use Stage 1 exercises as warm-ups, Stage 2 as primary work, and Stage 3 for strength testing — all in the same program.
Your Assignment for Today:
- Practice 360° breathing lying on your back for 5 minutes. Can you feel expansion in all directions?
- Perform the lightly loaded RDL screen (even if you're already deadlifting). Film yourself if possible.
- Use the Quick Start Guide to identify your starting point.
Tomorrow, we start building your hinge pattern from the ground up. You'll learn the bodyweight progressions that create bulletproof form — no barbell required yet.
These foundational movements might seem simple, but they're what separate lifters who build lasting strength from those who chase quick fixes.
Got questions about your screen results? Hit reply — we'd love to hear where you're starting and help you troubleshoot any issues you're seeing.
See you tomorrow for Day 2.
– The Ideal Strength Team
