September News Letter
Sep 18, 2025 2:11 am
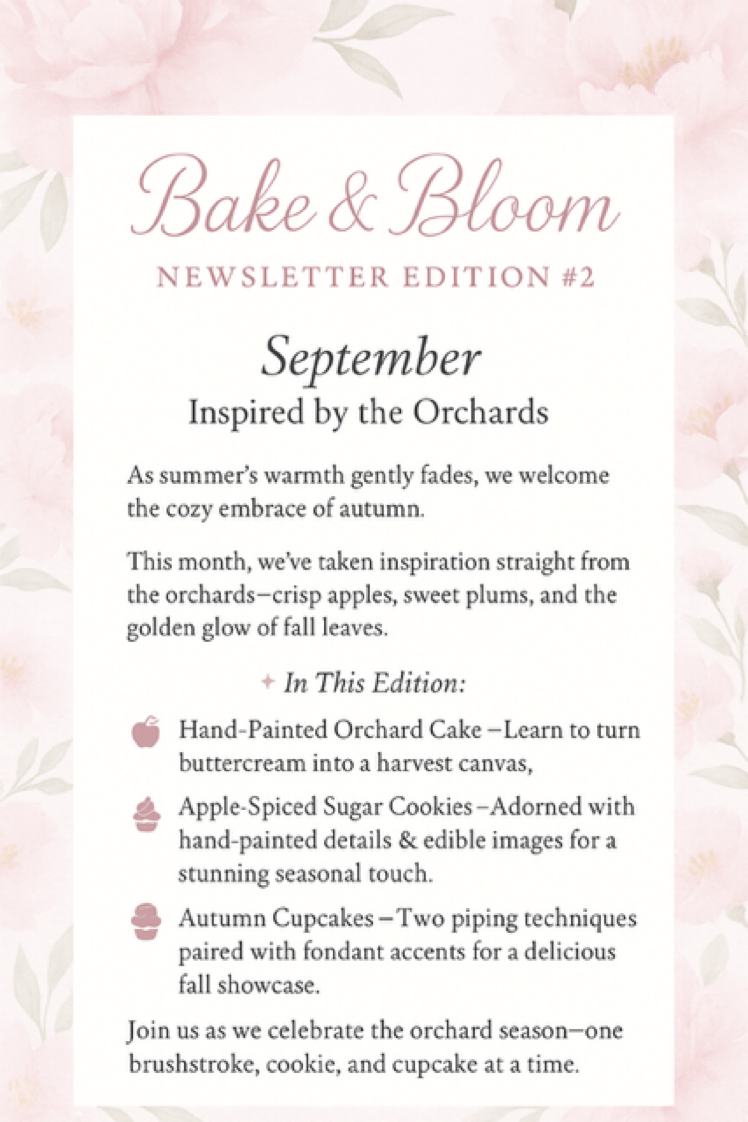
Bake & Bloom Newsletter Recipe Feature - our cake flavour for this month ..
Prep time: 45 minutes | Bake time: 30 minutes | Total time: ~1 hr 30 min | Serves: 12–14
Layers of moist, spiced brown butter pumpkin cake, filled with espresso cream cheese frosting, and drizzled with silky salted caramel. Perfect for fall gatherings and holidays.
Brown Butter Spice Pumpkin Cake (The perfect fall treat)
- 1/2 cup salted butter
- 1/2 cup avocado oil (or neutral oil)
- 1 cup light brown sugar
- 1 cup granulated sugar
- 4 large eggs, room temperature
- 2 tsp vanilla bean paste or extract.
- 1 (15oz) can pumpkin puree
- 2 cups all-purpose flour
- 1 tsp salt
- 1 tsp baking powder
- 1/2 tsp baking soda
- 1 tsp cinnamon
- 1 tsp pumpkin pie spice
Easy Salted Caramel ( use store-bought
Brown Butter Espresso Cream Cheese Frosting
- 1/2 cup salted butter, browned & cooled
- 16 oz (2 blocks) cream cheese, room temp
- 4 2/3 cups powdered sugar
- 1 tbsp vanilla bean paste or extract
- 1 tbsp instant espresso powder
👩🍳 Instructions
: Prep Pans
Preheat oven to 350°F. Grease and flour three 6” or 7” pans.
Step 1: Brown the Butter
Melt butter in a saucepan over medium heat. Stir until golden brown specks form and it smells nutty (5–8 min). Pour into bowl and let cool 15–20 min.
Step 2: Make the Cake Batter
Whisk dry ingredients. Mix butter, oil, sugars, eggs, vanilla, and pumpkin. Fold in dry mix. Divide batter evenly
Step 3: Bake
Bake 28–33 min, until a toothpick comes out clean. Cool completely before frosting.
Step 4: Make Frosting
Beat cream cheese smooth. Add browned butter, sugar, vanilla, and espresso. Beat till fluffy. Reserve 1/4 for piping
Step 5: Assemble
Level cakes. Frost & pipe border. Add caramel between layers. Apply crumb coat, chill, then finish frosting and decorate.
Tip: Freeze layers for 5 minutes during stacking if cake slides.
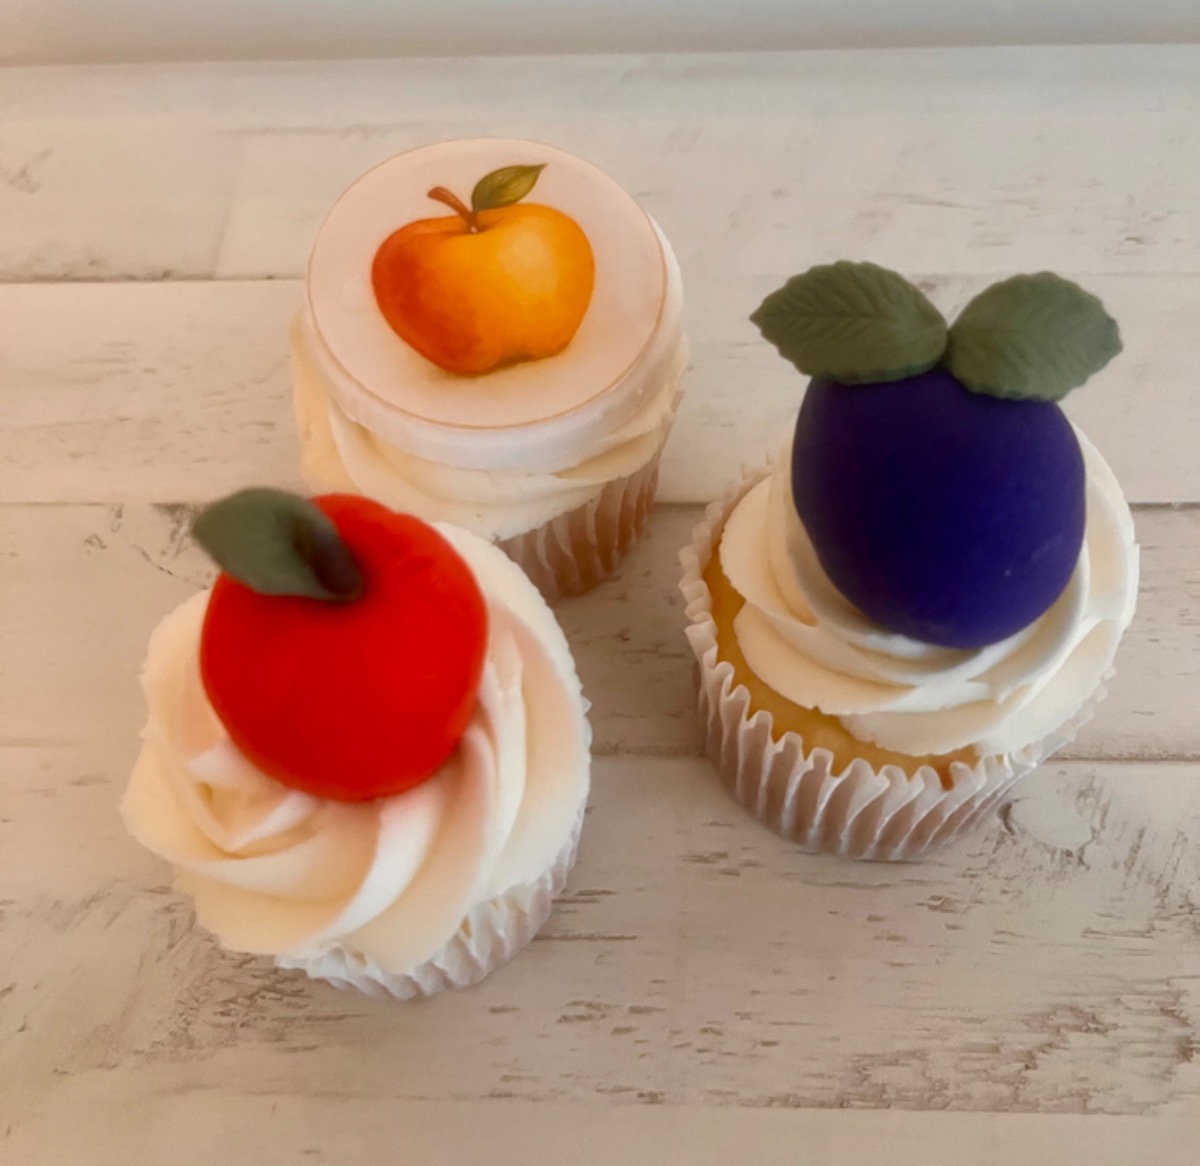
Our orchard inspired cupcake flavours for this months newsletter :
Our inspiration photos using chat GPT
See Our Video Tutorials ( Click On Photo )
Our how to illustration for painting . Practise on a piece of paper before applying to your cake / cookies .
■ Hand-Painting on Cakes – A
Step-by-Step Guide
Turn your cakes into edible works of art with hand-painting! This guide will walk you through
the supplies you’ll need and the steps to achieve stunning painted designs. Perfect for
creating elegant, custom details for any occasion.
■ Supplies You’ll Need
• Cake base (covered in fondant or chilled, crusted buttercream)
• Edible food colours (gel, paste, or powdered dusts)
• Clear alcohol (vodka, gin) or lemon extract for diluting colours
• Food-safe paintbrushes in assorted sizes
• Palette or small dishes for mixing
• Paper towels for blotting excess liquid
• Gloves and apron (optional, to prevent stains)
■■ Step-by-Step Process
1. Prepare your cake canvas – ensure the surface is smooth and chilled.
2. Mix your paint – dilute food colour with a few drops of clear alcohol or extract.
3. Start with light colours – paint background shades and let dry.
4. Layer & build details – add petals, fruit, or accents once the base has dried.
5. Let it dry – alcohol evaporates quickly, leaving the design set.
■ Tips for Success
• Test brush strokes on parchment paper before painting the cake.
• Work in layers for natural, realistic effects.
• Use metallic luster dust mixed with alcohol for shimmer.
- Keep brushes food-only—never reuse craft brushes
■ How to Use Edible Images – A
Step-by-Step Guide
these can be hand painted
or an edible image can be used to create these looks.
.
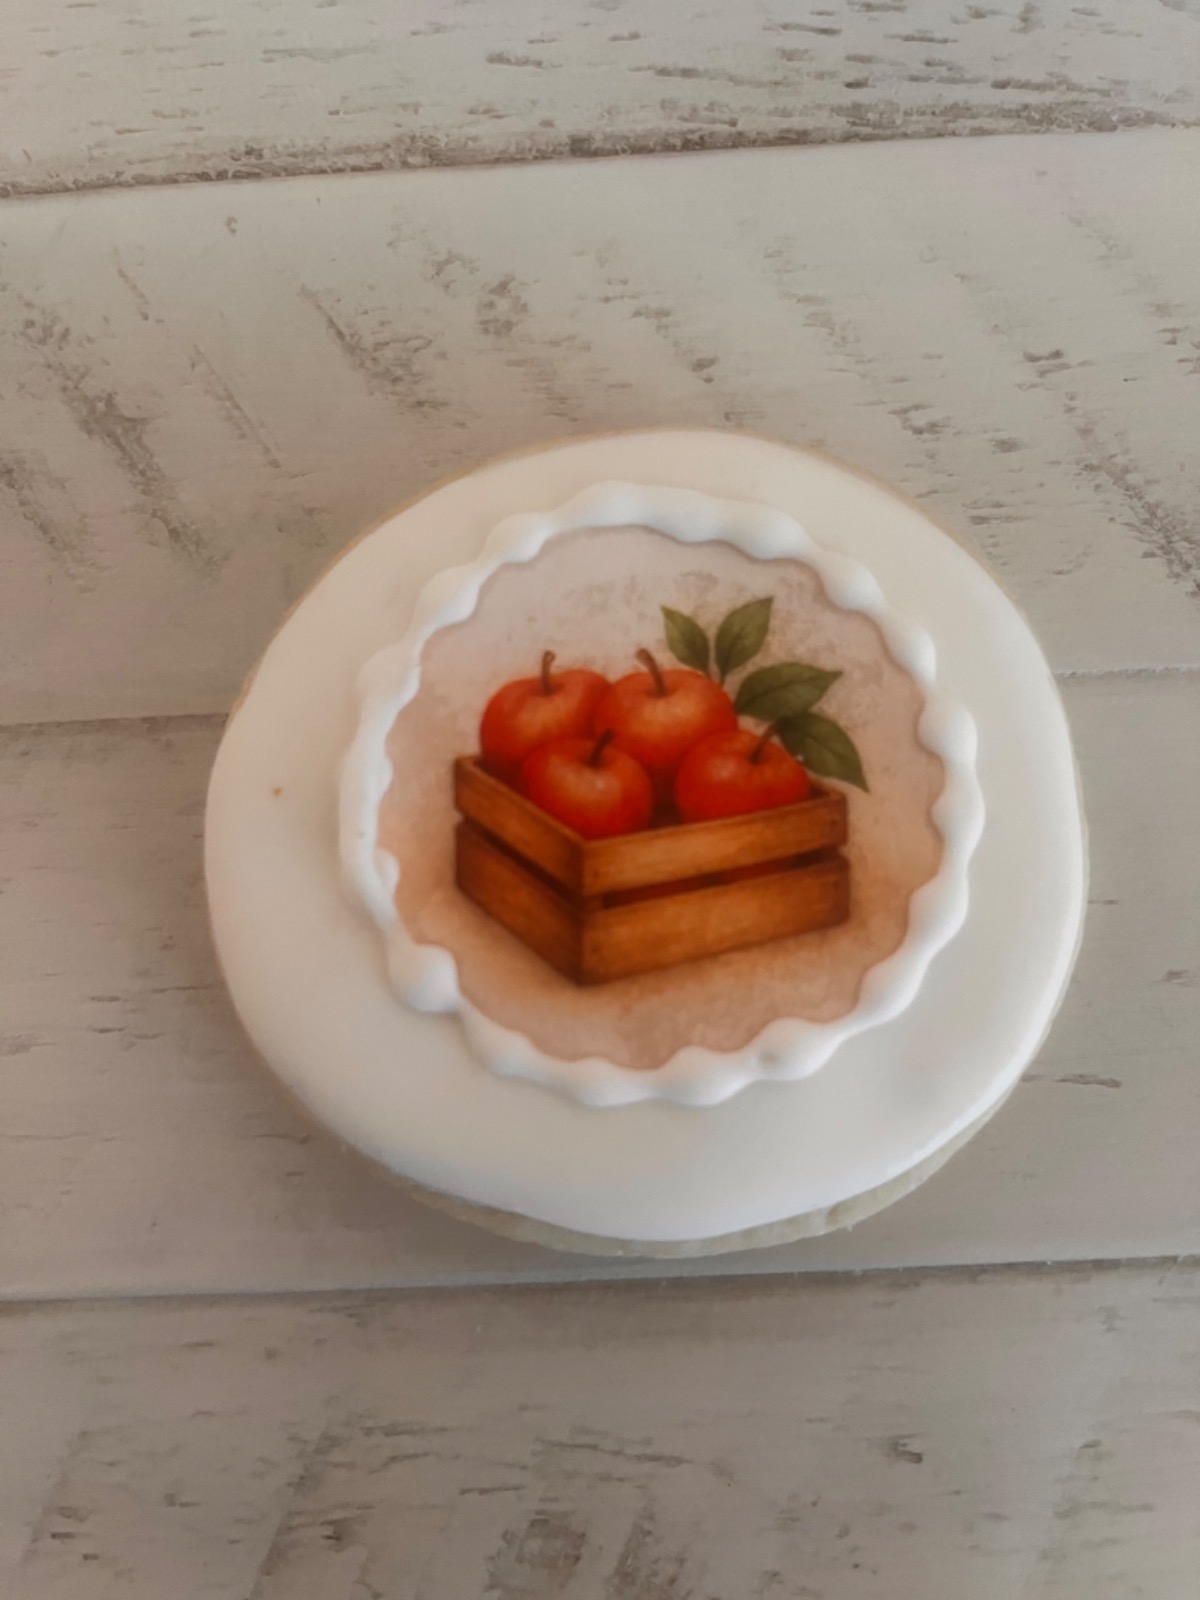
Apples in a crate - image design, ready for printing.
Edible images are a wonderful way to add professional and detailed designs to cakes,
cookies, and cupcakes. This guide will show you the supplies you need, the steps to apply
them, and tips for best results.
■ Supplies You’ll Need
• Pre-printed edible image sheets (wafer paper or frosting sheets)
• Food-safe scissors for trimming
• Edible glue (piping gel, corn syrup, or water depending on base)
• Soft brush or small spatula for glue application
• Cake/cookie/cupcake base (fondant, buttercream, or royal icing)
• Tweezers (optional, for delicate placement)
■■ Step-by-Step Process
1. Prepare the surface – ensure fondant or buttercream is smooth and slightly tacky; royal
icing should be dry.
2. Trim the edible image – cut out the design with clean food scissors- remove backing
3. Apply edible glue – brush a thin layer where the image will go (avoid over saturating).
4. Place the image – carefully position and smooth out air bubbles.
5. Allow to set – let the image bond for a few minutes; refrigerate lightly if needed.
Tips for Success
• Always handle edible images with dry hands.
• Store unused sheets in a sealed bag in a cool, dry place.
• Avoid direct sunlight once applied to prevent fading.
• For curved surfaces like cupcakes, apply images just before serving.
• Combine with piping or painting for mixed-media cake art.
Tip: look for a local business that advertises edible image printing Generally each sheet runs from $12.00-15.00 each.
Local business – Paula’s edible images – Facebook – Langley BC location.
Dairy Queen – may provide images for a fee
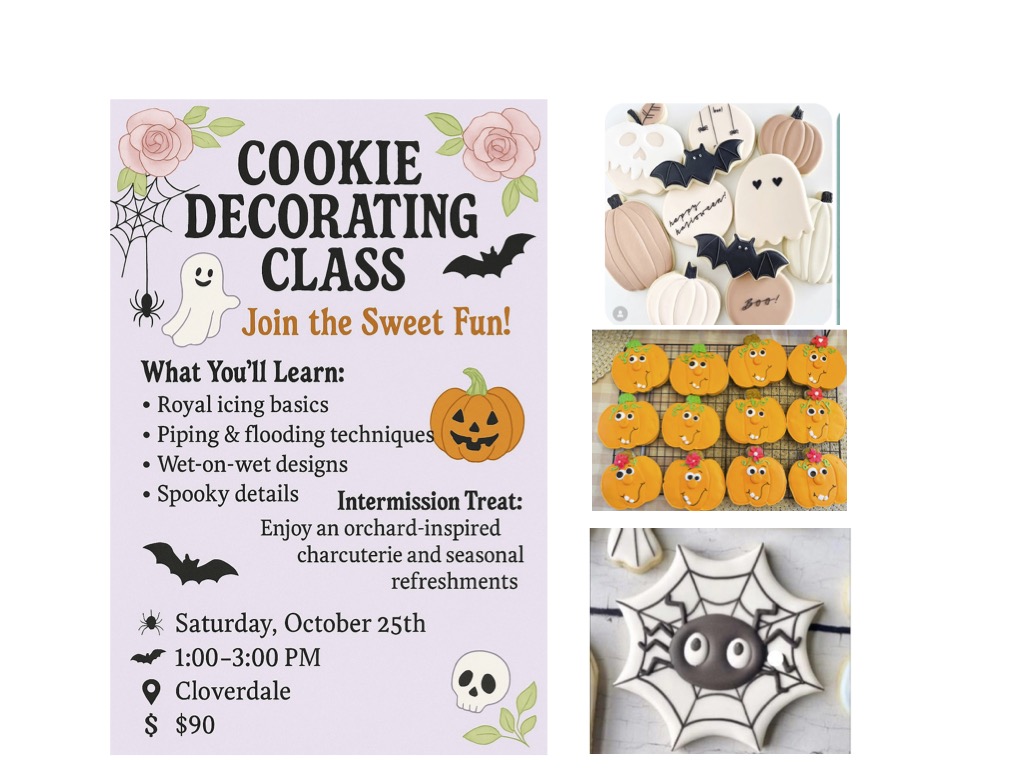
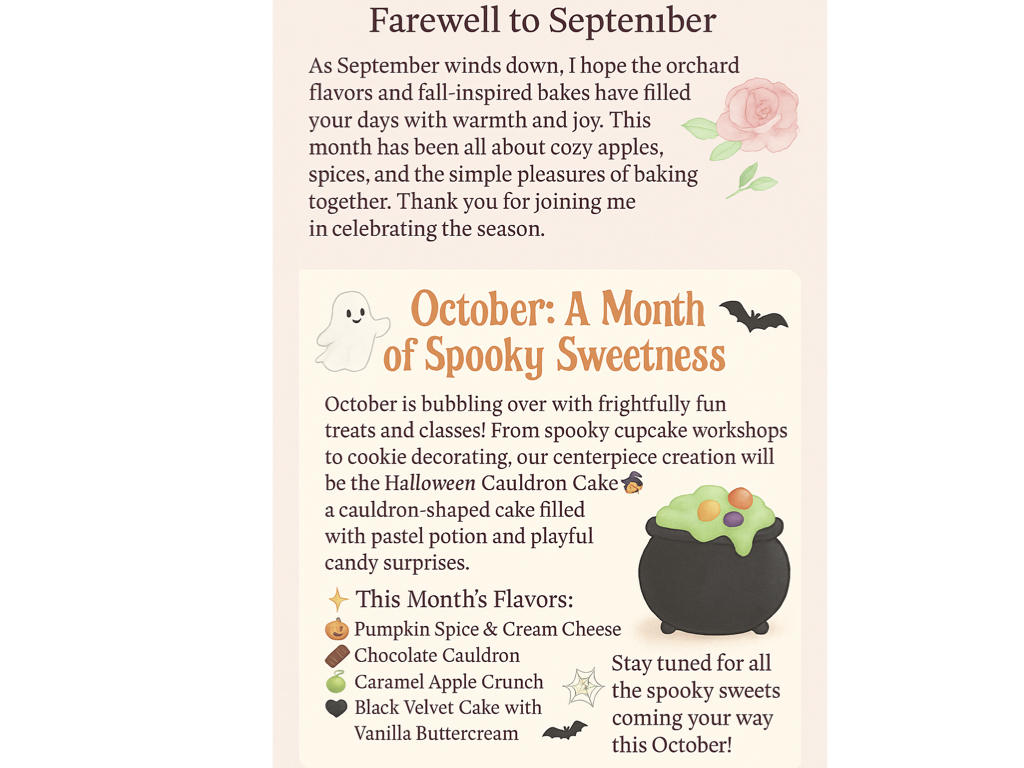
Upcoming classes : Halloween Theme
Class #1 - Saturday October 18th
🎃👻 Halloween Cupcake Decorating Workshop 👻🎃
Learn how to decorate 7 spooky-cute Halloween cupcakes step by step! 🧁
You’ll master:
✨ Fondant details (ghosts, pumpkins & bats) & using molds to create details
✨Edible image toppers
✨ Piping techniques for webs, swirls & textures ( 2 different techniques )
Enjoy an intermission with a Ghostly Charcuterie Board 🕷️, then box up your creations in a decorated wooden box—perfect to eat or gift!
Bonus: Featuring one of our Orchard-Inspired Flavours from this month’s Bake & Bloom newsletter!
1:00 – 3:30 | All supplies included | Small class setting
🎟️ Spots are limited—don’t miss out! Msg us to reserve your spot .
Class # 2 - Halloween Themed Cookie Decorating Class:Create 7 different designs - Good for beginners and intermediate levels !