November Bake And Bloom
Nov 27, 2025 4:59 am
Welcome to our November Bake & Bloom Newsletter Edition
Hello sweet friends,

This month arrives with its own special kind of magic. The air grows crisp, the afternoons feel cozier, and the very first sparkles of Christmas excitement begin to bloom. November always brings that warm, gentle shift where our hearts lean toward the holiday season — and the bakery fills with a sense of joyful anticipation.
Behind the scenes, we have already been whisking, mixing, planning, and prepping for December.
From festive cookie classes to holiday cookie orders, it’s officially the busy season for everyone… but oh, how I adore the excitement of everything Christmas when it comes to baking. It’s truly where the magic lives.
This month we are diving into all things caramel — our favourite flavours, recipes, swirls, drizzles, and golden goodness. Caramel season is here, and I could not be more excited to share it with you.
This month’s featured projects spotlight three delicious techniques:
• Embossed shortbread cookies
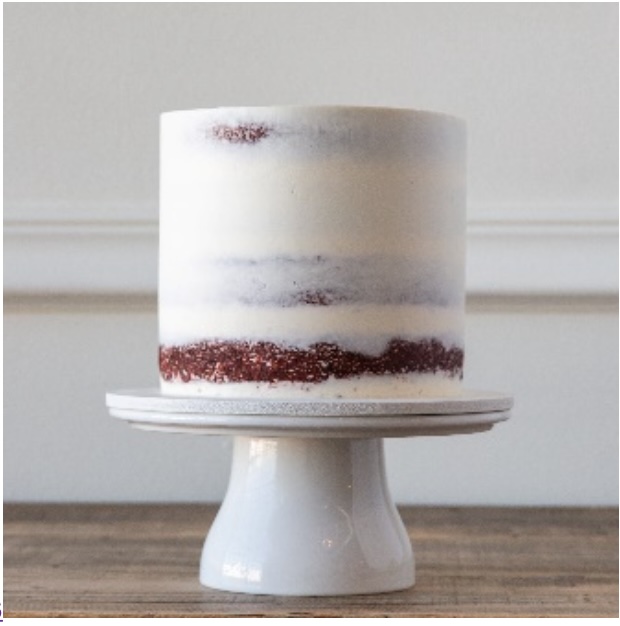
• A semi-naked chocolate caramel cake: instead of a combing technique I have opted to demonstrate the semi naked technique as it’s a great technique for entry level or beginners to work with.
• Rosette 2 colour buttercream cupcakes tutorials demonstrating elegant piping skills with a swirl technique ( don’t have the coupler for piping 2 colours together – not to worry , our tutorial will show you a hack to get this same effect without the fancy tips!
Thank you for being here and for welcoming November with me.
Let’s cozy in, get inspired, and let the baking joy begin!
Let’s start by talking all things caramel. I am sharing my go-to recipes this month, including my easy, no-fuss caramel sauce. With the cooler weather settling in, caramel-inspired treats are the ultimate comfort food for the soul. Personal warning: Our caramel sauce is best enjoyed with caution — mostly because I have recently discovered that “just one spoonful” (a dainty little 80 calories) has a magical ability to multiply into two… or three…
Just consider this your loving caramel warning from the kitchen.
Proceed with joy, oh and maybe use a slightly smaller spoon!
Caramel Sauce:
- 1 cup heavy cream at room temperature
- 2 cups caramels unwrapped.
Instructions
- Add caramels and heavy cream to a microwave-safe bowl.
- Melt on 50% power in 30-second increments until smooth and creamy.
- Let sit 15 seconds between each time you microwave.
- Serve over ice cream or cakes or other desserts.
- Sprinkle flaky sea salt over caramel sauce if desired.
Recipes used for this month’s newsletter:
Our cookie recipe for this months tutorial : https://preppykitchen.com/shortbread-cookies-recipe/ ( add one tsp of caramel flavouring to recipe, increase flower by ½ tsp)
This months cake – Real Deal Caramel Cake ( light , fluffy and filled with delicious caramel layers : Real Deal Caramel Cake Recipe
This month’s cupcakes flavour: Gooey Caramel-Stuffed Chocolate Cupcakes
Our November Baking Tip:
As the cooler weather settles in, your kitchen ingredients start to feel the chill. Butter, eggs, and flour become colder than usual, which can make batters thicker and doughs stiffer.
To keep your bakes light, smooth, and velvety, allow your ingredients to gently warm to room temperature before mixing. A simple and effective trick: Place your eggs in a bowl of warm (not hot) water for about 5 minutes
These simple steps help everything blend beautifully, give your cakes a softer crumb, and keep your fall and holiday treats perfectly cozy.
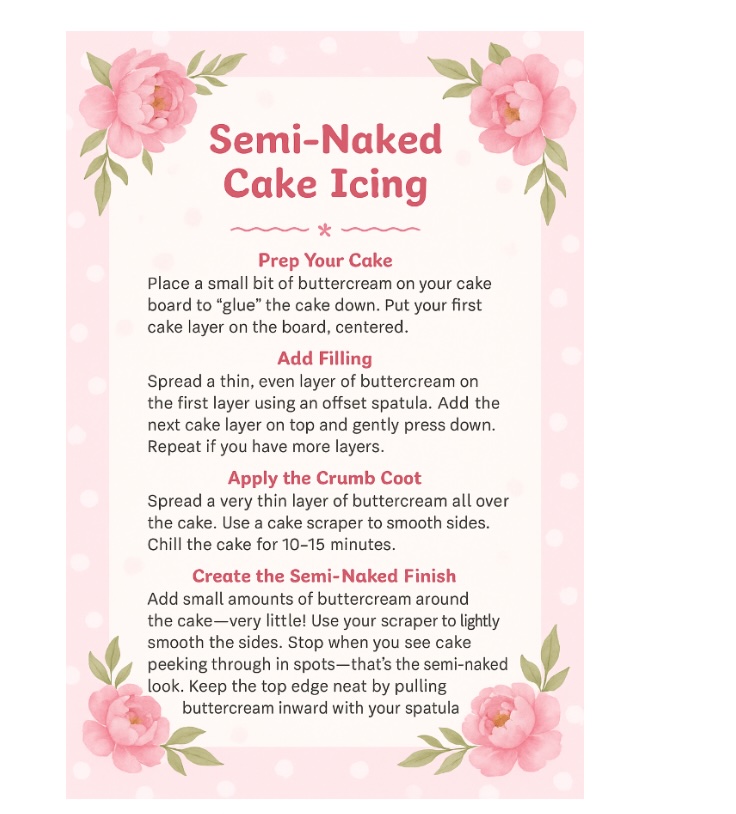
Naked Cake – tutorial and instructions
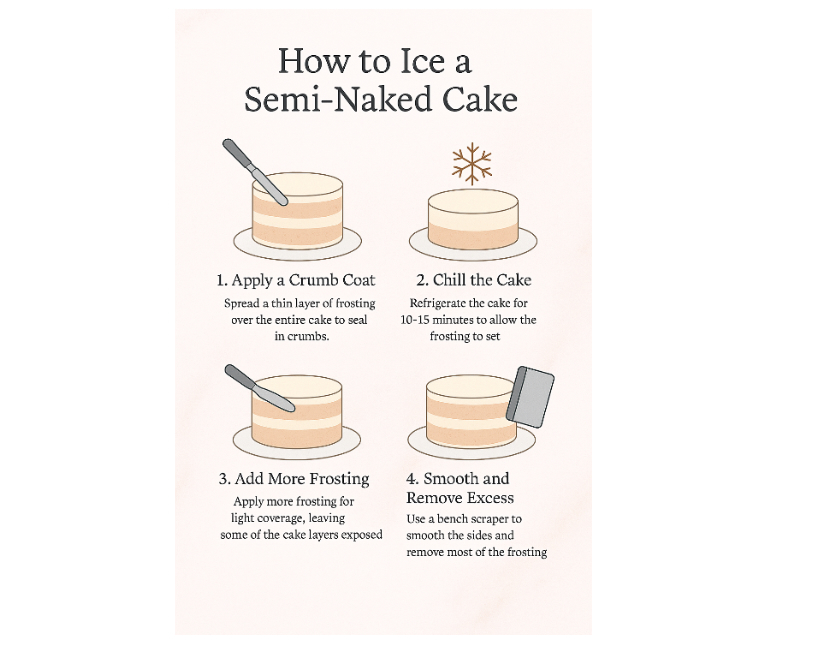
Check out this great tutorial on how to ice a semi naked cake!
https://youtu.be/egOHp1x1S7Q?si=ZB18GECROvYlr_r7
Using Embossers
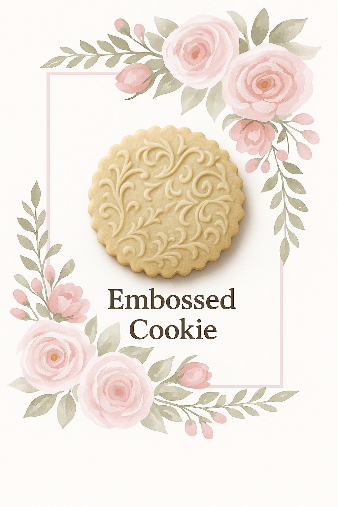
Cookie embossers are an easy way to add beautiful texture and designs to your cookies. Here is a quick look at the basics.
Types of Embossers
Traditional – Single stamped designs. Easy to use and great for clean impressions.
Rolling – Patterned rolling pins that cover large areas quickly.
Interchangeable – One handle with multiple design plates for variety.
Personalized – Custom names, dates, or logos for special events.
3D Embossers – Deep designs that create bold, raised details
Materials
Wood – Classic but must be dried well.
Acrylic – Durable and great for fine details.
Silicone – Flexible, non-stick, and easy to clean.
Metal – Strong and long-lasting; handle edges carefully.
Prepare the Dough
Chill the dough so it holds its shape. Cold dough spreads less and keeps the embossed design sharp. Chill at least 30 minutes—overnight is best.
How to Emboss
- Roll the Dough to ¼ inch thickness.
- Press the Embosser gently and evenly.
- Cut Out the Cookies using a cutter slightly larger than the design.
- Bake on a parchment-lined tray. Chill cut shapes for a few minutes before baking to prevent spreading.
https://youtu.be/tYry1z5zFcY?si=NNIdghFb3AgrASQ5- here is a great video to showcase embossing!
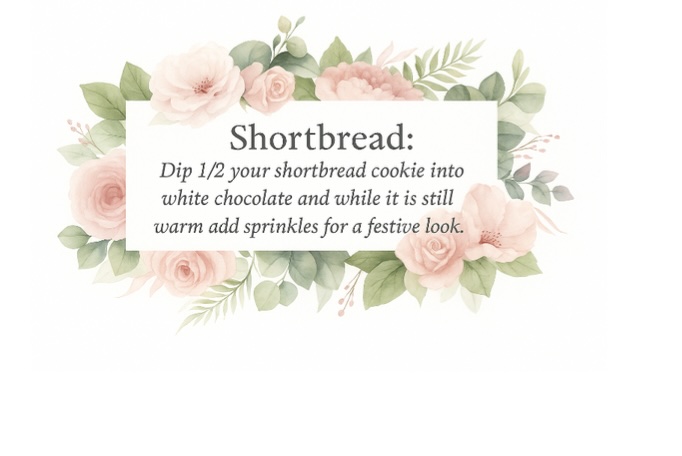
“Here is an easy way to make your shortbread feel festive—and a bit fancy.
Piping Rosettes & combining 2 colours without a special coupler
Here is a great tutorial on how to achieve 2 two colours when you don’t have a coupler and how to pipe pretty rosettes .
https://youtu.be/6poP8CDQ4Vg?si=kn1peOhKkf_9dRQB
https://youtu.be/acVfZiNBniY?si=-5z7qzFbDFE7Hhvq
Recipe of the Month: From our kitchen to yours!
4- ingredient Peanut Butter Balls (our go to recipe every year for the Christmas season)
½ cup creamy peanut butter
3 Tbsp softened butter – salted.
1 cup icing sugar
1 cup semi sweet chocolate chips or white chocolate chips.
1 Tbsp veg shortening – optional.

Mix the peanut butter with the softened butter in a mixing bowl. Gradually stir in the powdered sugar until combined. Cover and place in fridge for 15 minutes to firm up.
2 Using your hands, shape the dough into 1-inch balls and place on a baking sheet – refrigerated for 20 minutes (this will help hold its shape when dipping into chocolate
3. Melt the chocolate chips according to package instructions
4. using a fork, dip the peanut butter balls one at a time into the melted chocolate (make sure the chocolate is at room temperature and not too warm) allow the excess chocolate to fall off. Place the chocolate balls onto wax paper, cover and refrigerate until ready to serve.
So creamy and smooth with just the right amount of peanut butter flavour- delicious!
Closing Thoughts:

As we wrap up this sweet November edition of Bake & Bloom, I hope you are feeling inspired by all the soft caramel ,cozy flavours, and gentle textures we explored this month. The semi-naked caramel cake, paired with rosette buttercream cupcakes and embossed shortbread provide that handcrafted charm I always adore… proof that even the simplest techniques can create something truly heartfelt and memorable.
Thank you for spending this month baking and blooming with me. My wish is that these techniques spark creativity in your kitchen and bring a little extra sweetness to your season………
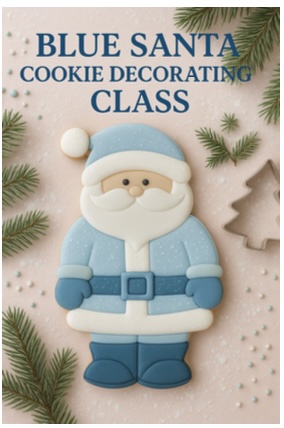
Upcoming cookie decorating class – all our December classes are full except our Blue Santa Series I have 5 seats left in this fun class… you will create this cute Santa and 4 other designs, all supplies including an intermission with goodies is included for 65.00. If you are interested in this class on December 14th 1-3 pm – Cloverdale location, please contact us at [email protected]
.
A Peek into December’s Bake & Bloom
December’s edition will be filled with soft winter magic, delicate holiday colours, and festive techniques wrapped in our signature pastel charm. Expect:
Christmas hues (think blush pinks, frosted greens & gold accents), whimsical winter decorating ideas and a festive treat you can share or gift.
It’s going to be a beautiful, heartwarming month—perfect for inspiring your Christmas creativity while keeping everything aligned with our soft, elegant style.
“Until next time, keep it sweet and don’t burn the bottoms!”

 Elaine