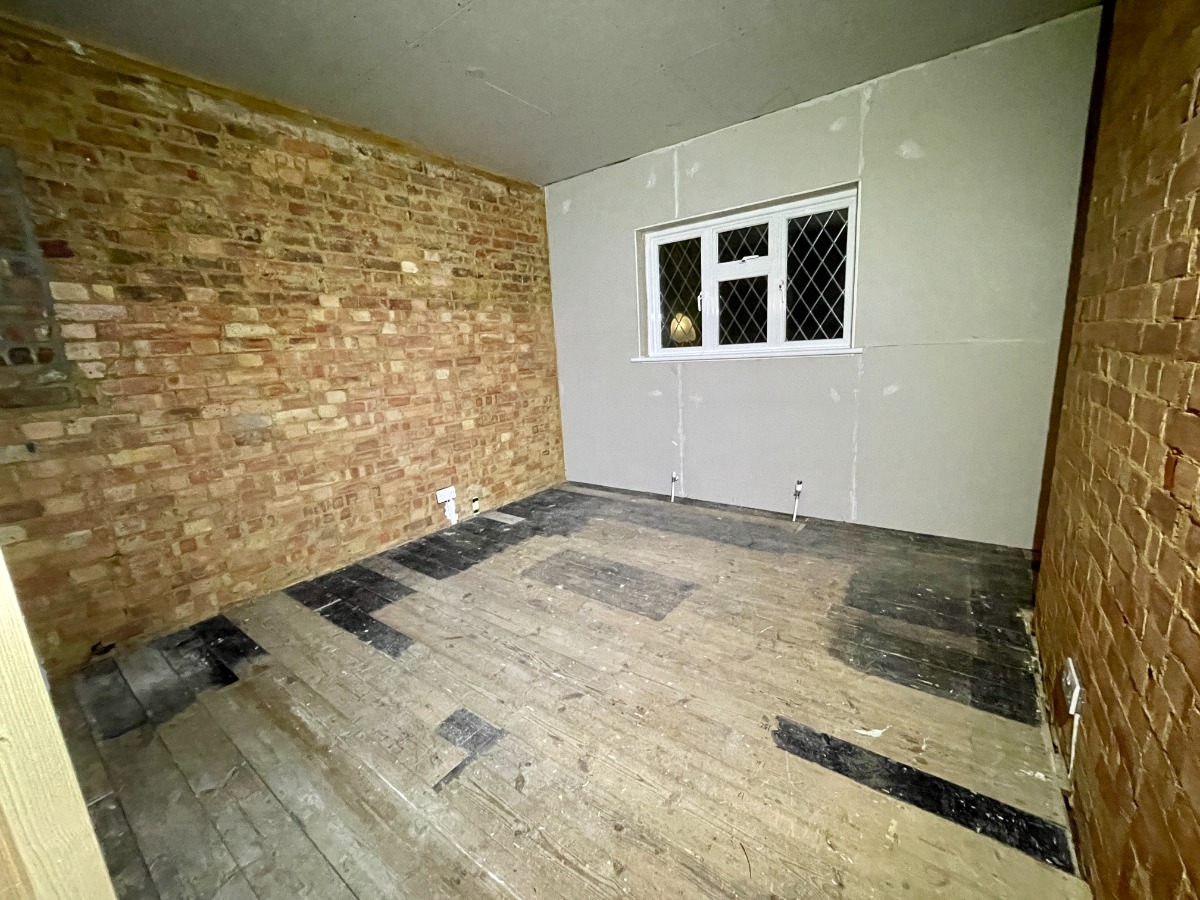
Back To Brick & New Ceiling
Dec 14, 2022 12:40 pm
Hey friends,
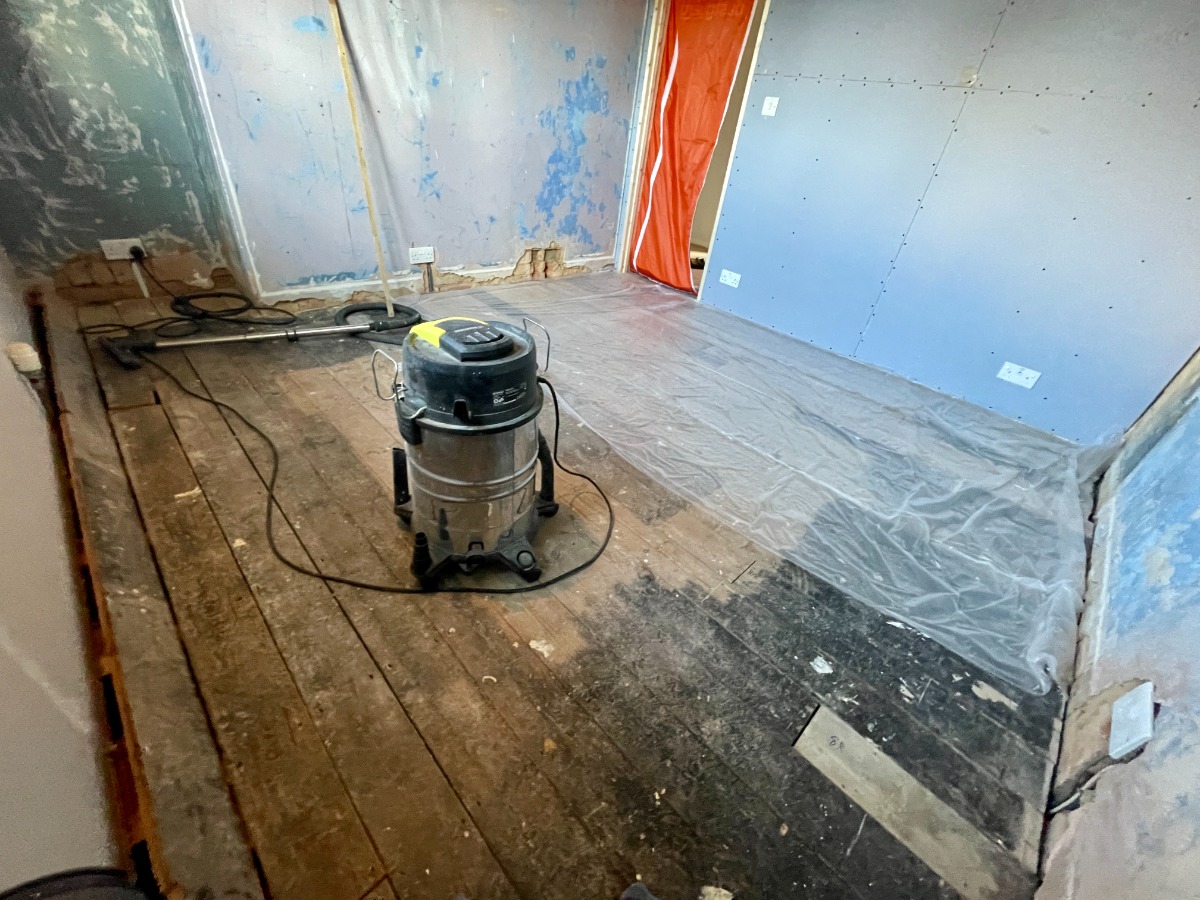
Moving onward, this room has 2 new plasterboard walls, two plaster on brick walls and a lath and plaster ceiling.
If the ceiling and brick walls had been in good condition I may have considered taping & jointing the plasterboard then painting. But they weren't so I may as well have the whole room plastered. In regards to the ceiling and brick walls I have a choice to make.
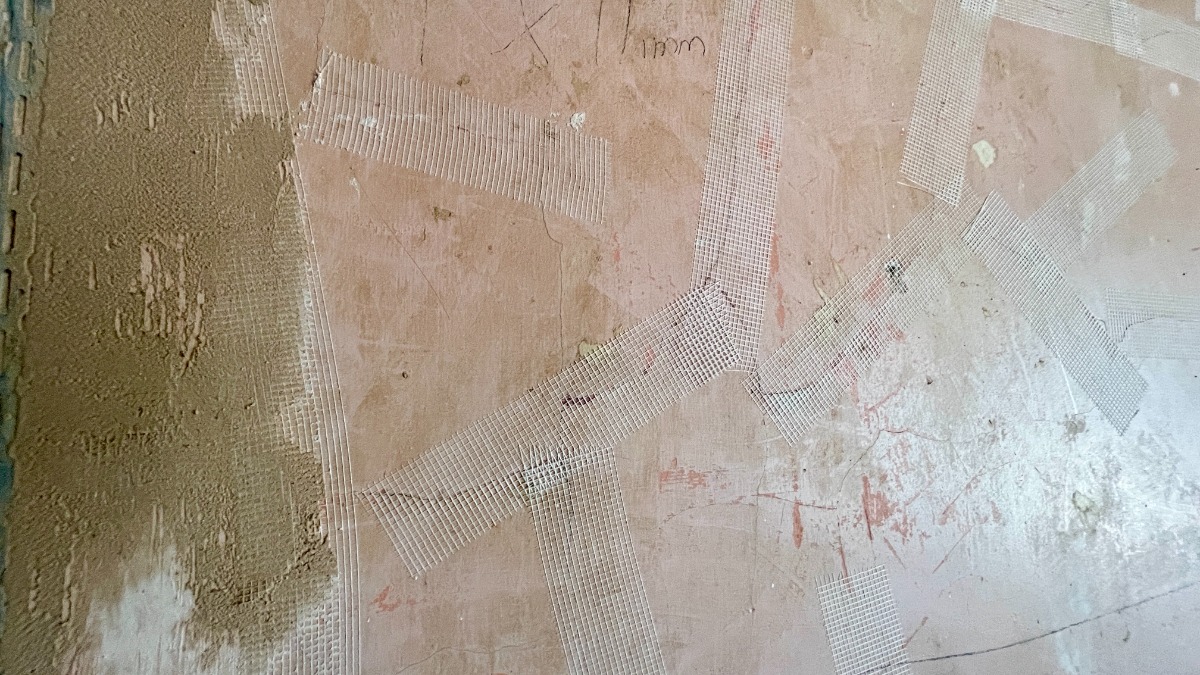
Option 1. Skim over the existing plaster. This usually entails meshing over any cracks prior to skimming or there are large mesh sheets you cover the entirety of the walls/ceiling to give it more strength. In the other bedroom the plasterer did the former as you can see below. And this room turned out great.
Option 2. Back to brick/joists. This involves taking off the existing plaster and ceiling laths and starting over with fresh plaster.
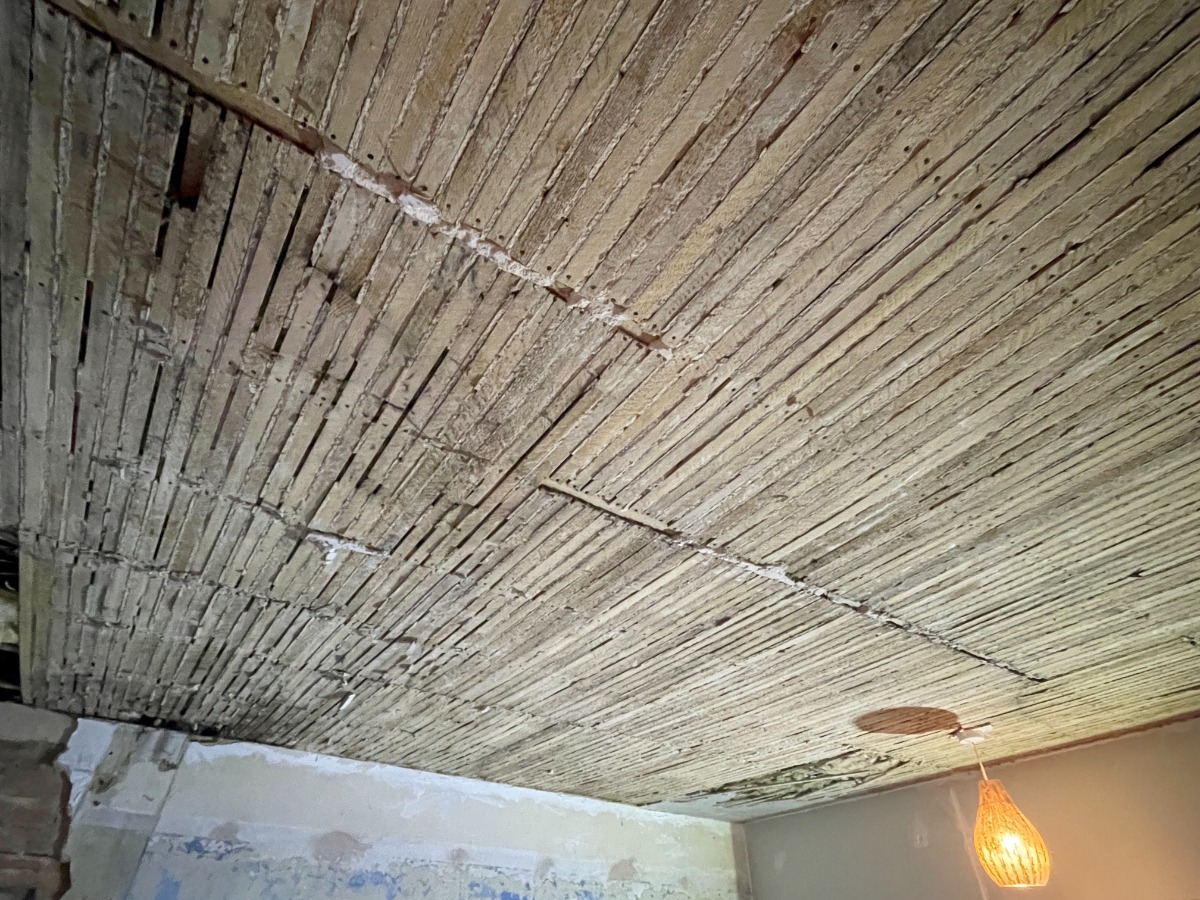
How to decide? The ceiling had two large cracks where the plaster on one side had dropped a few mm so it felt like the right decision was to remove and start again. My joists are a little undersized for the span so I'd rather not over(under)board and add more weight. That's a pretty common option though.
With the walls, you can knock on them to give you an indication if the bond has given way. A dull thud means there's a good bond whereas a hollow, echoey sounds means the bond between brick and plaster has deteriorated. A higher pitch sound might mean the skim layer has come away from the layer behind.
There was a lot of this and there was a section where I'd blocked up the window which needed a foundation layer of plaster anyway so I decided to take the best thing was to take all the plaster off and start again. The plaster is after all 100 years old.
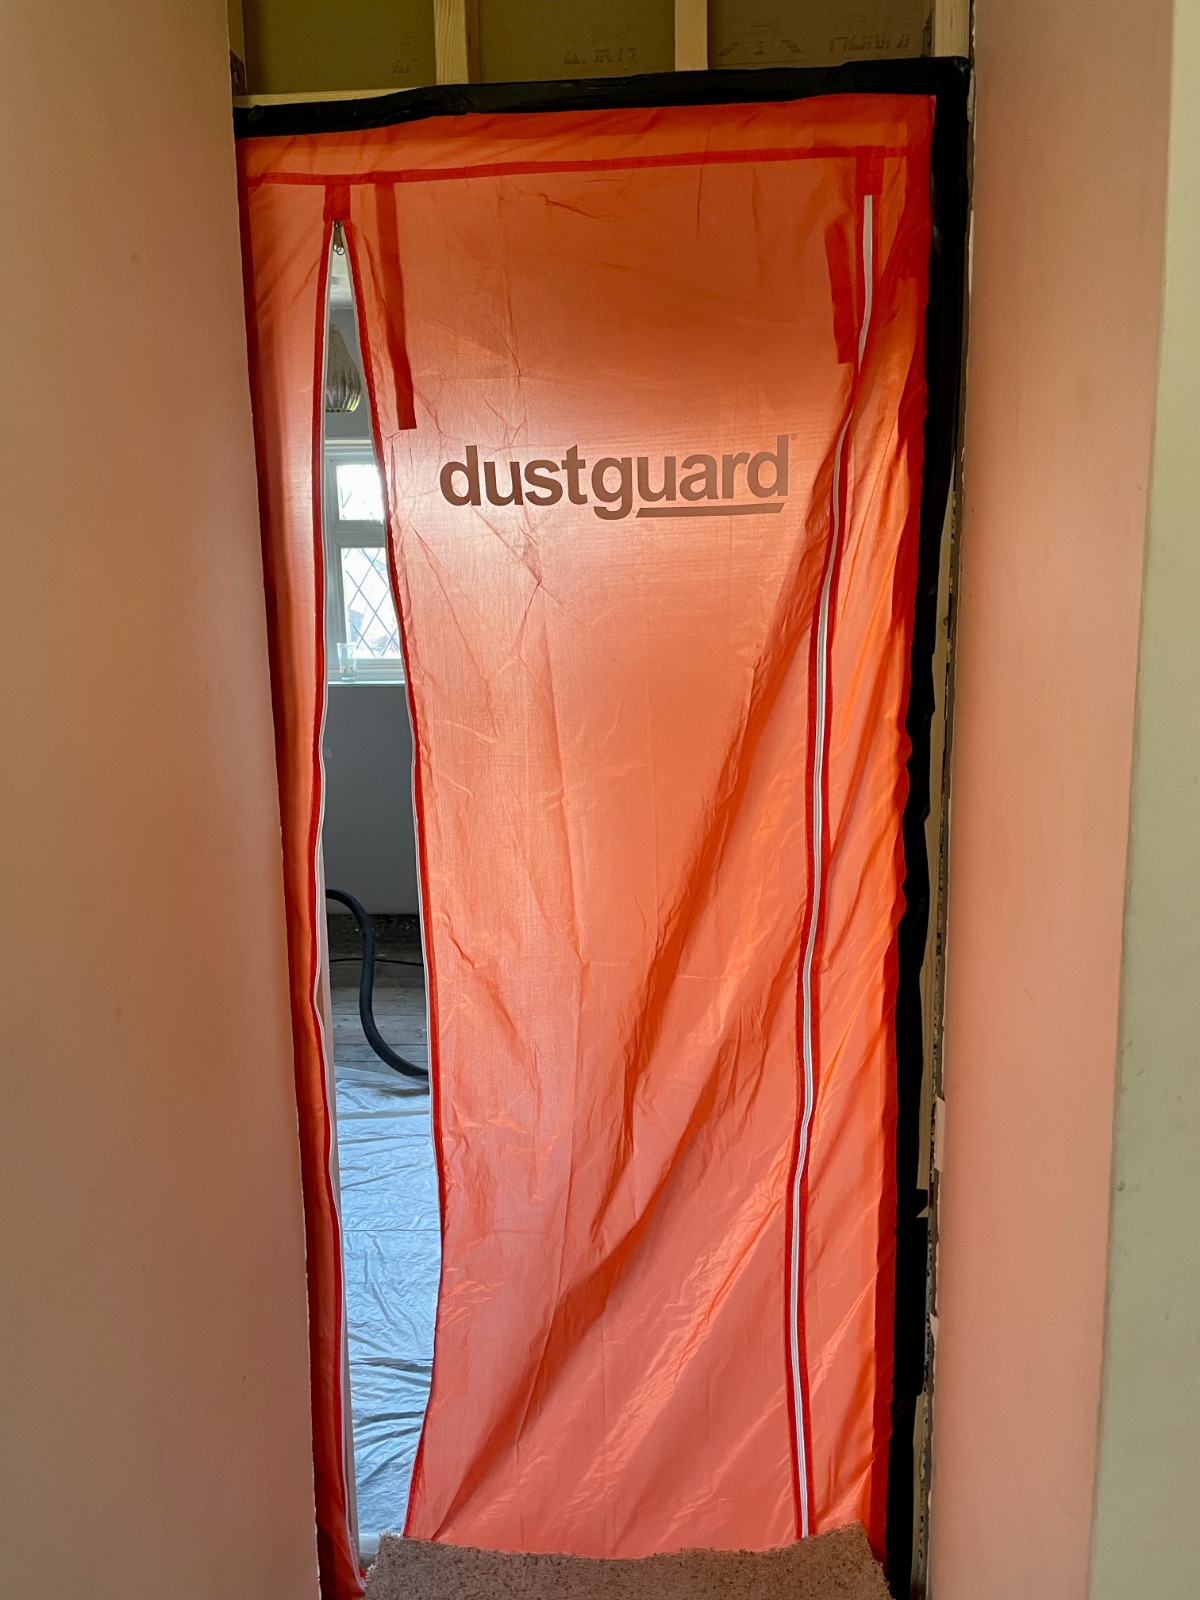
It's not an easy decision though, not least because of how dusty this job is. Before beginning I taped a dust barrier to the door.
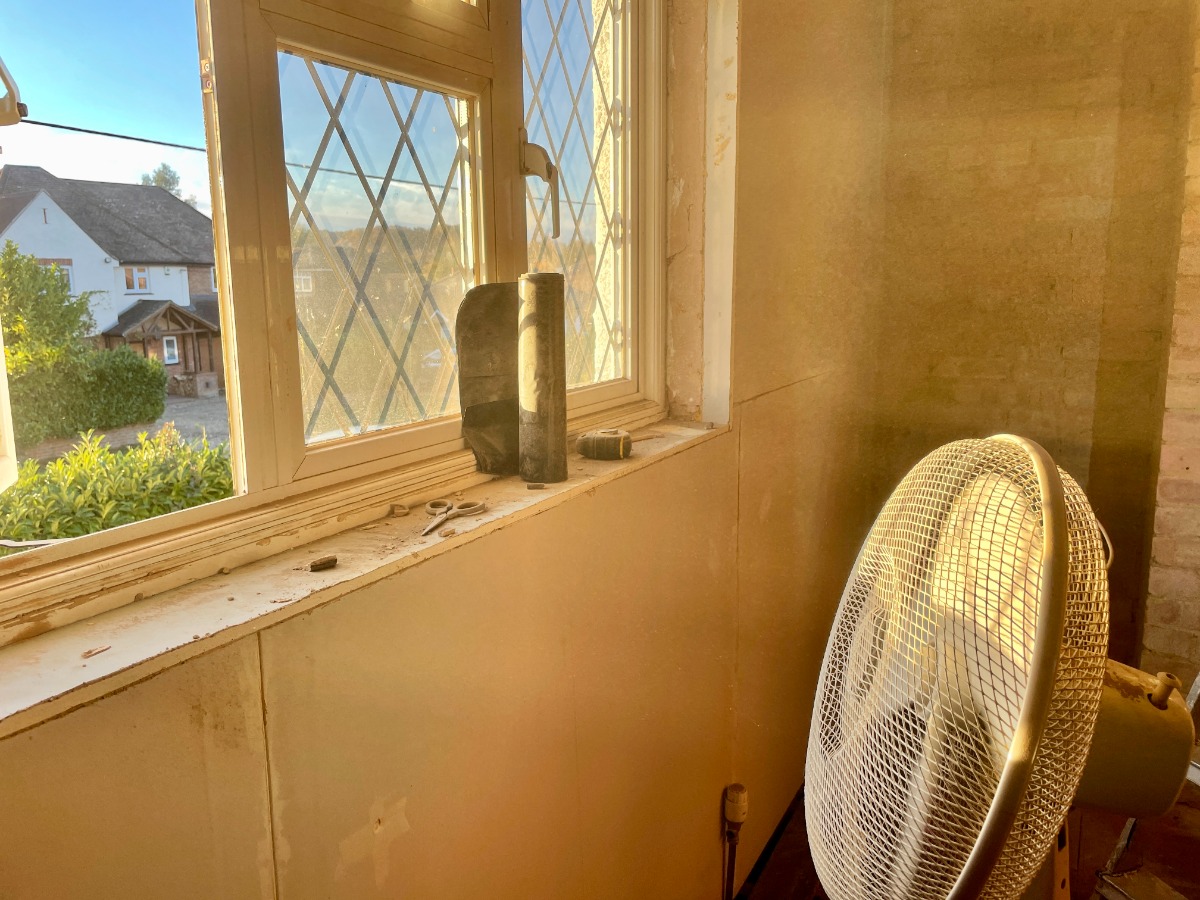
By leaving a small section of it unzipped and directing a fan toward an open window, the cross ventilation does help clear the air.
Of course I'm using a mask as well though if you sport a beard or stubble it's never going to be 100%. Perhaps if you slather vaseline on it it might! Yeh, as DIY goes it's not a fun job. At least now I can have a proper shower afterwards.
I started with the ceiling. The plaster was easily knocked off using my crowbar as I did in the bathroom. There was one section which was on the old bathroom side of the old wall where they had taken off the plaster but not the laths and instead attached PB and then skimmed. That was a bit more stubborn to remove.
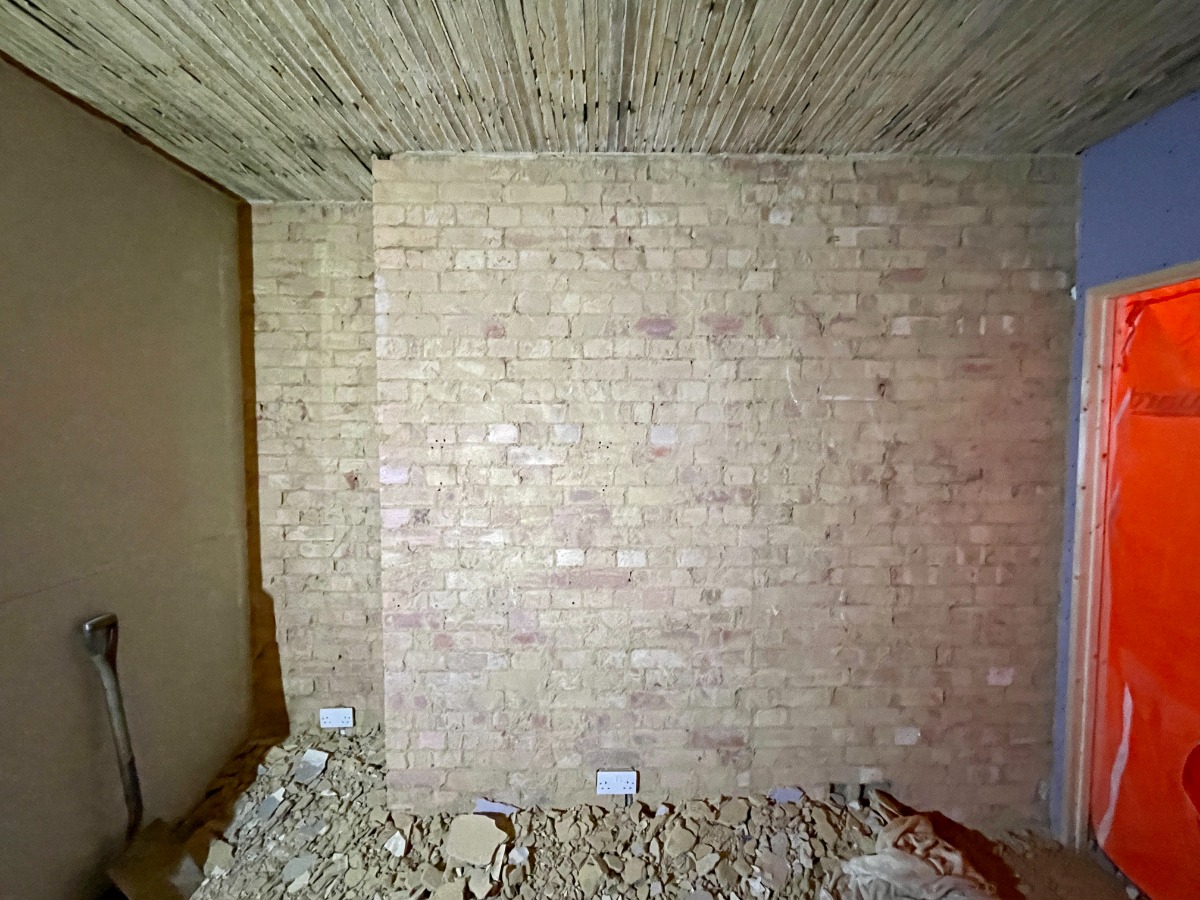
I then left the lath on while I tackled the walls. I used my SDS drill with chisel (coming in handy a lot lately!) and for the most part it just fell off which reassured me I was doing the right thing - about a 5 minute job per wall. Quite nice brickwork I thought:
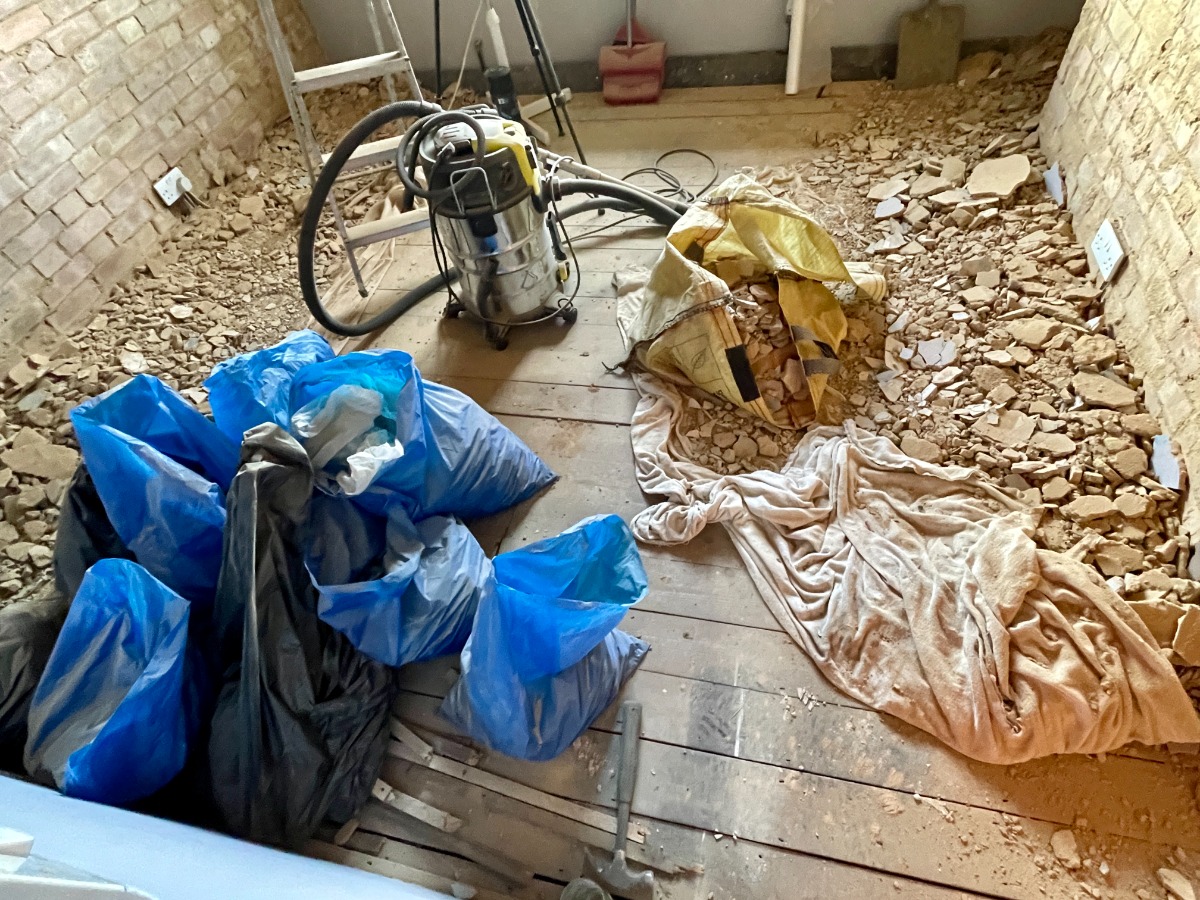
Plaster is heavy, so it took many tens of sacks to remove it all but by volume it's not much and only filled a few inches of a skip.
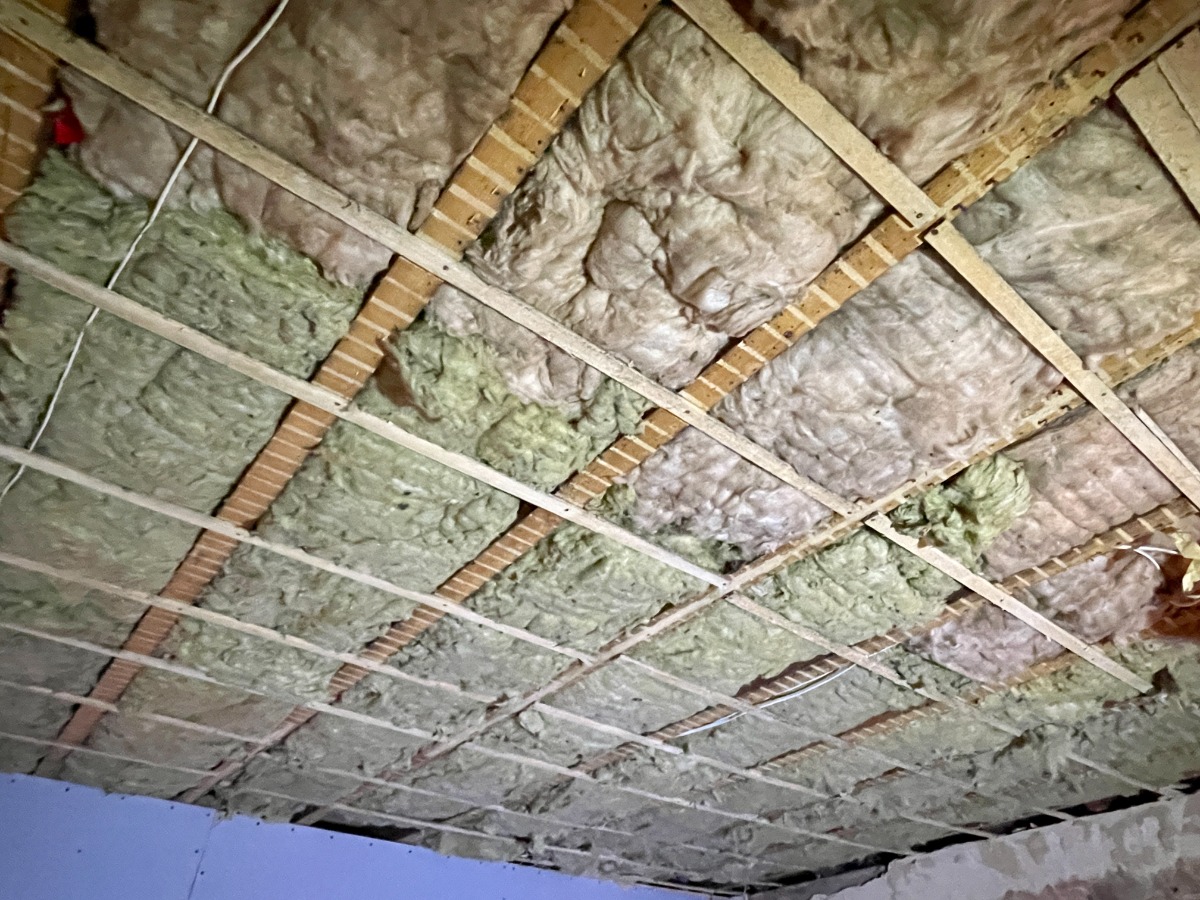
Back to the ceiling. I'd learnt something from the bathroom project - don't take off all the laths at once or your insulation will fall out!
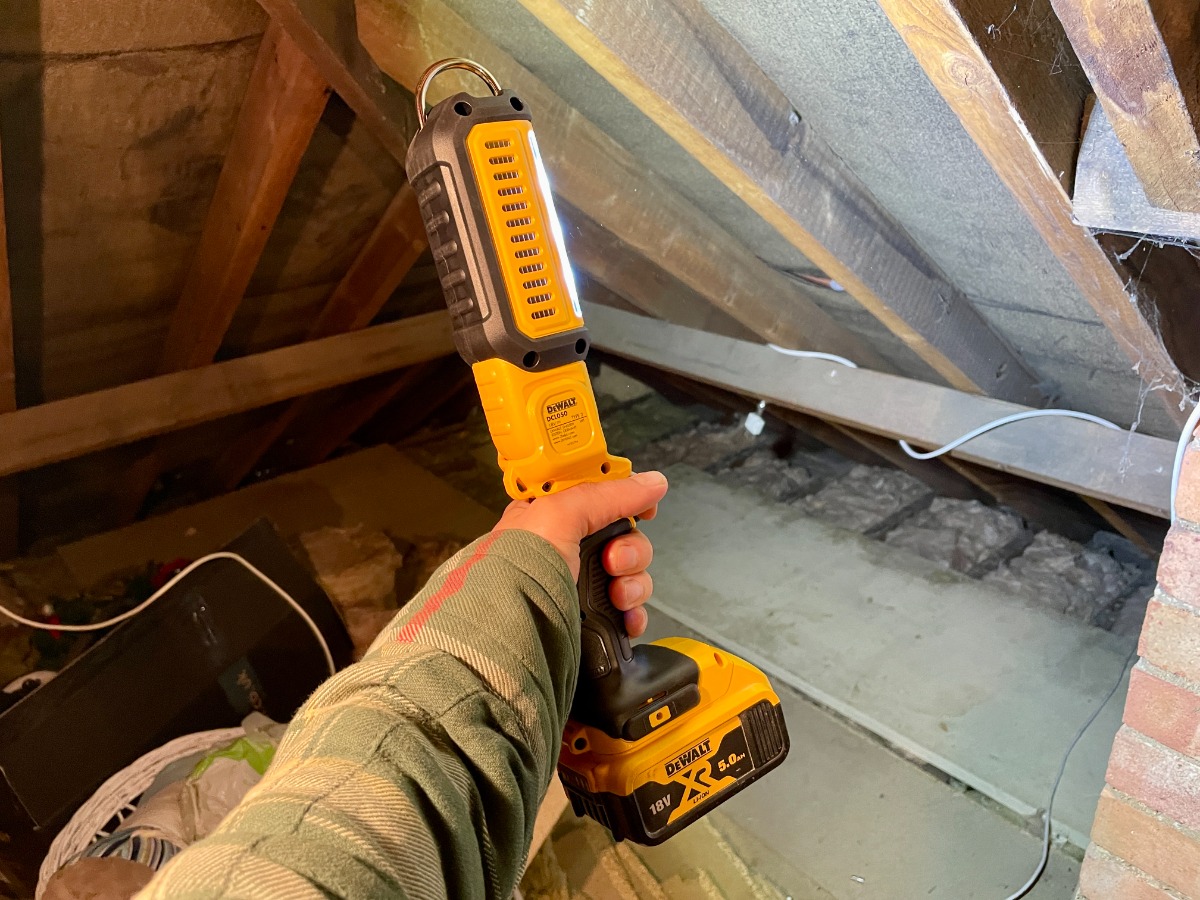
I decided to put in the cables for the downlights at this point as it's easier to do it from below than up in the loft. I've covered this before. For the existing ceiling light I removed it and re-wired in the loft for the time being. I made a very worthwhile purchase to help with this (ignore the description, it's 300/1000 lumen not 250/500). Lasts for ages on a 5Ah battery.
I also used a wire brush to get the remnants of plaster off the brick and then I used a diluted PVA solution - 5 parts water to 1 part PVA. This is what the plasterer had asked for and apparently will reduce the suction but not kill it entirely. Some plasterers will simply spray down the wall first with water instead. You can see the cleaned up and now darker PVAd brickwork below.
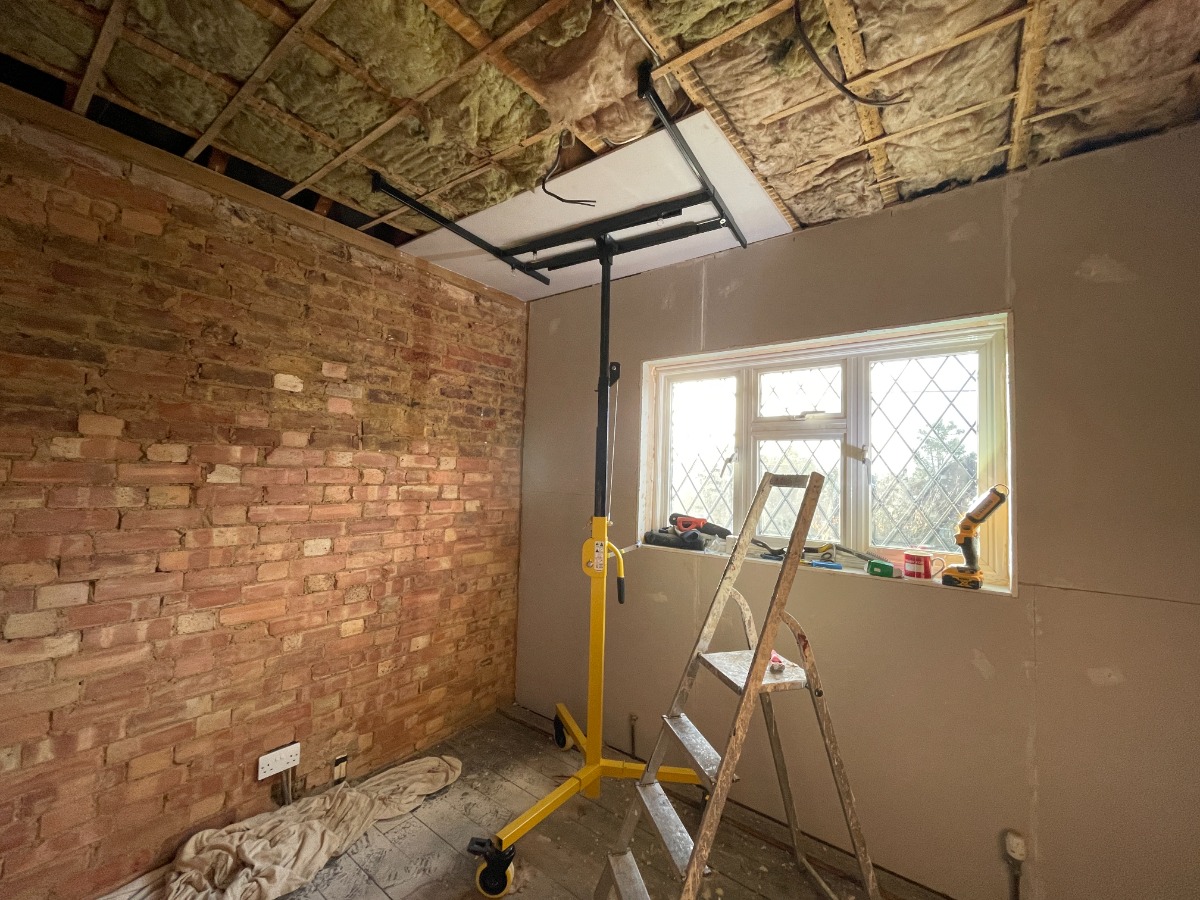
I then borrowed Steve's panel lifter again and set to work on the plasterboard, removing the last of the laths as I went.
As I've mentioned before I'm going to be adding more insulation to the loft which will make the loft colder and potentially create more condensation so I want to combat that by reducing the amount of moisture that gets up there in the first instance.
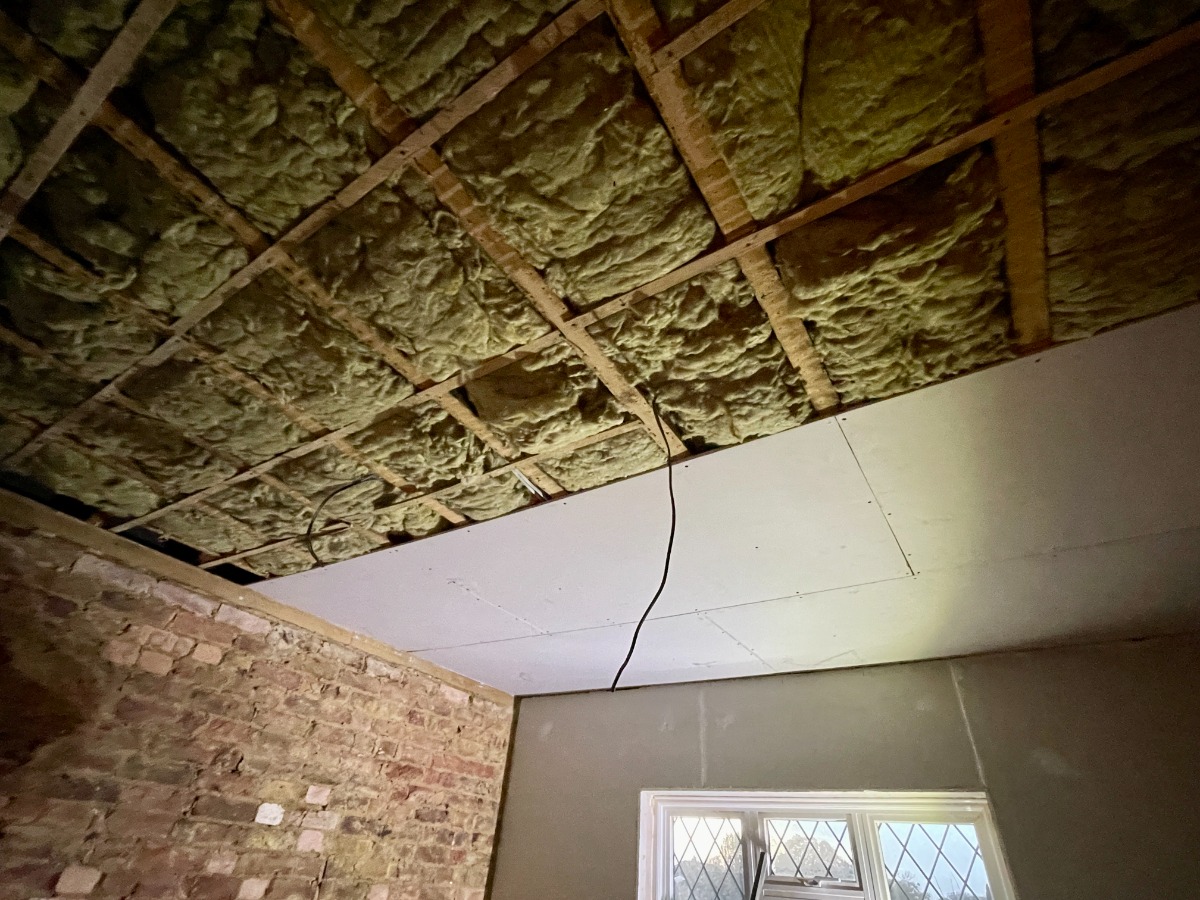
In the bathroom I was keen to use moisture resistant plasterboard on the ceiling so I tacked a polythene sheet to the underside of the joists first (moisture resistant doesn't mean it won't let moisture through). In this bedroom I don't I can use normal PB but with a foil backing to act as the vapour barrier.
Quite why Selco, where I get my PB, doesn't do MR PB with foil backing, I don't know. It seems like a winning combination to me.
The other thing I liked about this particular PB is it's smaller at 1.8 x 0.9m so it fits up my stairs and I could cut them to length in the room. I staggered them in a brick-bond pattern which makes cracking of the plaster less likely. I'd have liked to have used acoustic sealant between the sheets to ensure a continuous VB but time ran out unfortunately.
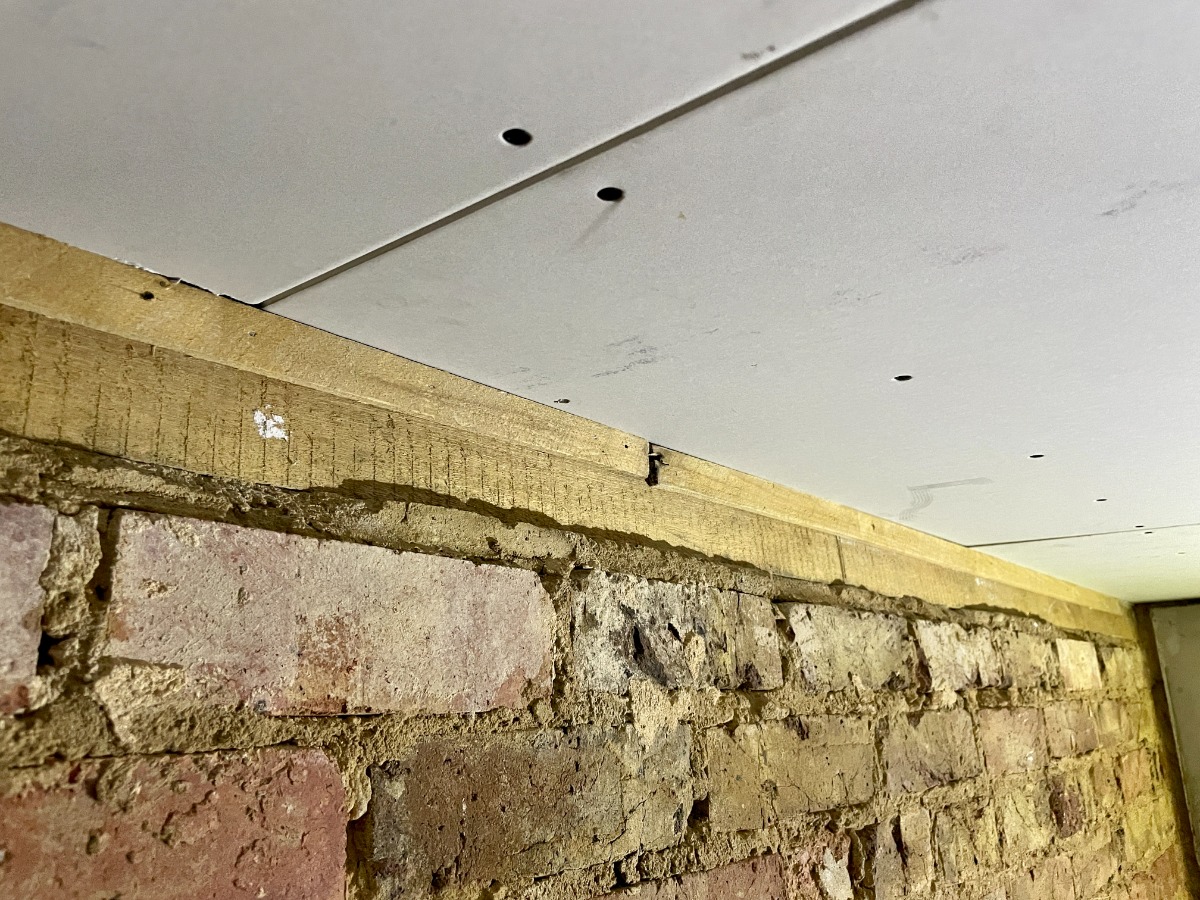
On the outer wall the final joist is a fair distance from the wall so to support the plasterboard edge I pin-nailed a few strips of lath to the timber top plate.
This is the room right before plastering. There a few projects left before this stage which will be the subject of the next newsletter.
👋
Hit "reply" if you've got any comments on this week's newsletter – otherwise I'll see you next time. Have an epic week :)
P.s. If you think a friend will enjoy this newsletter, feel free to send them this link where they can sign up.
P.p.s. You can find all previous newsletters here.
