Firewood & Knocking Down A Wall
Mar 16, 2022 7:01 am
Hey friends,
I confess I may have gotten a little obsessed with the wood chopping but we're now at capacity!
The top third is beech from the woodland (thank you storm) and the rest is leylandii I had felled last summer. The former, being a hardwood, will burn slower and provide more BTUs of heat and while the latter is not the most coveted of fuels, it should burn well enough. From my reading up on the subject, leylandii can throw off a lot of creosote that can coat the inside of the chimney, but only if it isn't well seasoned. The key number seems to be <20% moisture which is also important to minimise pollution.
Beech:
Leylandii:
I had thought the beech would be a lot higher than the leylandii which has been stacked for 8 months (but subject to rain). A warm summer under cover will do them both good and I'll test again in Autumn when I'll start looking into wood burners.
We haven't switched on our gas fire at all this winter due to the cost so I'm hoping that if I can source enough free timber a wood burner will save us money as well being a cosy focal point of the living room.
As for the log store I still need to clean up and re-paint the timber beam and sides sooner rather than later and there are a couple of non-essential additions I could make in the future like a little roof overhang and possibly a lightweight slatted gate for safety.
A thoroughly enjoyable project and good exercise while we were waiting around for the plumber.
👷 Knocking Down A Wall
The plumber has given us a rough date for his first fix of early next week. At last! Time to move the lad out of the bathroom-to-be.
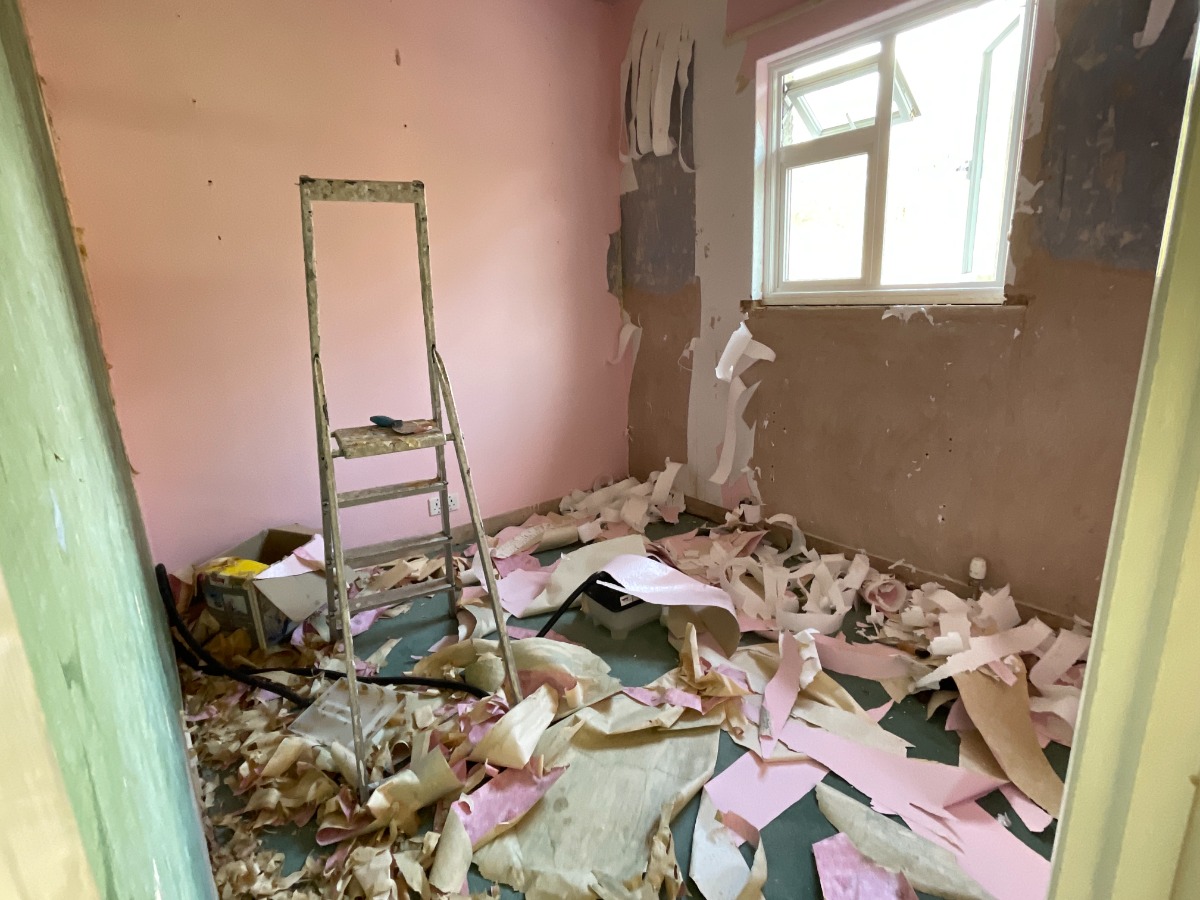
The first step was the usual removal of: rad, skirting, window board and wallpaper. I've learnt to keep the carpet in place until everything else has been removed, especially as dust will be a big factor this time around.
Like the bedroom at the front of the house, the outer wall had a thin (2/3mm) polystyrene lining for heat retention from the solid walls. As you know, elsewhere I've replaced this with insulated plasterboard but that's not a great choice here. I need something a bit thinner as we don't have much space to spare and also more waterproof than plasterboard as water from the shower will run down this wall (I'll probably have the towel rail on the opposite wall than shown below based on your previous replies).
After some googling I came across Marmox board which comes in various thicknesses (I'm thinking of going for 20mm) and has extruded polystyrene on the back:
So I gave Marmox a call to ask a few questions. My expectations for these calls are always low as I'm usually met with a few perfunctory responses but the guy I spoke to explained everything.
- They can be cut with a blunt saw or utility knife like you would for plasterboard.
- I can use tile adhesive to adhere the boards to the plastered wall. That should be fine on its own but I can add mechanical fixings if I like with metal or plastic washers.
- For the joints I can fill with their MSP 360 sealant first then alkali-resistant scrim tape and a smearing of waterproof tile adhesive like I did for the shower room in the GR, though there are specialised tapes. Not sure if there are cheaper alternatives to the sealant. I'll likely get one tube and prioritise the shower area and just use the scrim tape and shower adhesive on the rest.
- Then tile over, which together with everything else should be vapour tight too. It's strong enough to hold heavy tiles like porcelain, unlike plasterboard, not that we have the budget for those.
For the floor I was going to pull up the floorboards and replace with 18mm ply +6mm of some normal cement tile backer board but the chap said I could use these same boards right over the existing floorboards so that could save me a fair £amount. Maybe the same is true of all tile backers, i.e. put them straight over floorboards?
There are similar products to Marmox of course.
---
The next job is to remove the wall between this room (Bedroom 3) and the WC.
You've got to be very careful with removing walls as even stud walls upstairs can be structural, pulling in the outer walls and holding up the ceiling joists. In this case, it's a very short wall, there's an adjacent wall very close (wall with door to WC) and the wall runs in the same direction as the ceiling joists so I'm confident it isn't structural. From my reading it seems Building Control doesn't need to be informed to do this.
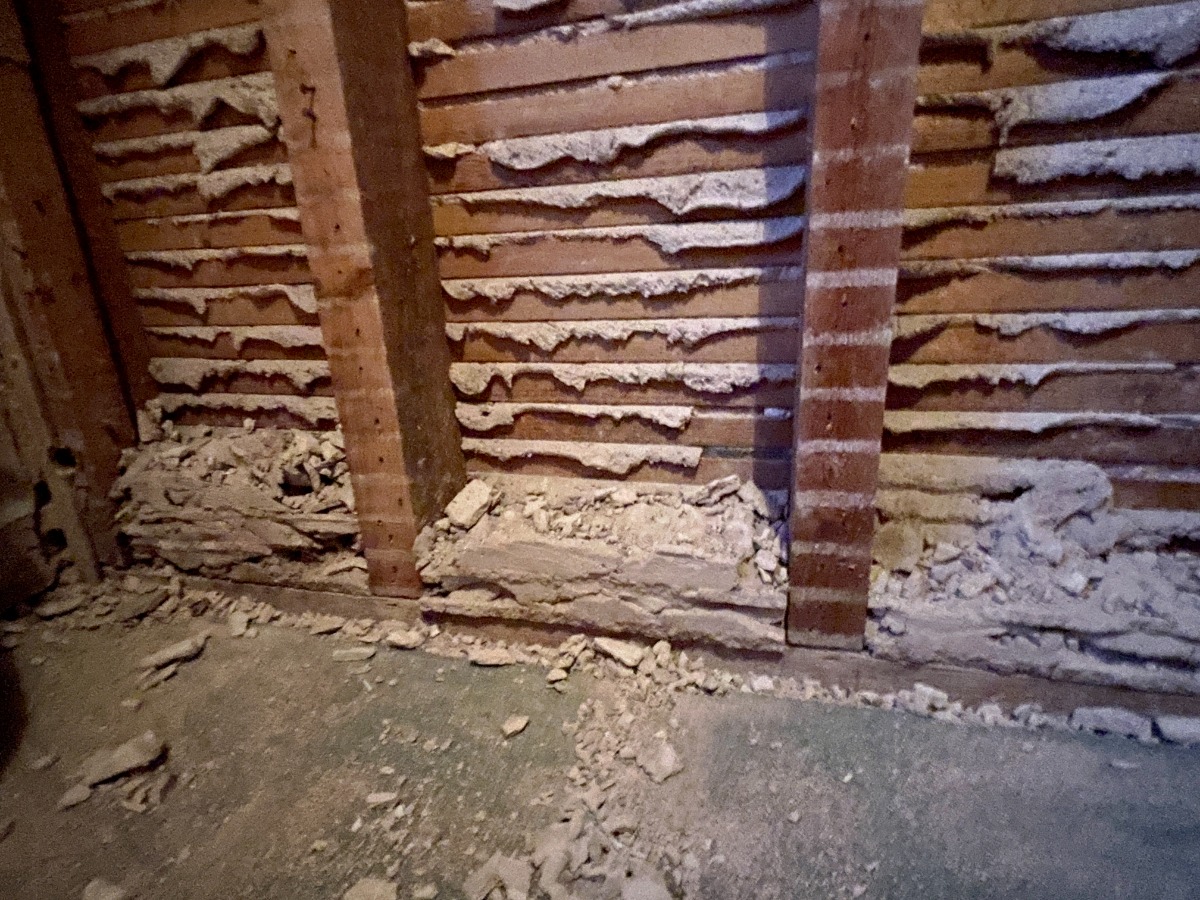
What I didn't know is whether this wall was original or had been put in later but as soon as I had the skirting off it was clear it was indeed original. Lathe and plaster!
It's a lot more work to remove compared with plasterboard. I used a crowbar in a ramming motion to separate the plaster from the lathe, like so:
Once this was off I flipped my crowbar around to pull off the lathes:
This revealed more lathes on the other side of the wall; it's a shame my kindling store is full. Look at those lovely old growth studs though, I'll be keeping those bad boys 😁.
This is as far as I've gotten. I noticed that the plaster doesn't really stick to the lathes. It's the plaster that is squeezed between the lathes that hold it in position, the 'lugs', so for the other side I'll knock off the lugs on this side first and hopefully it should come off more easily.
While pulling off the lathes I was wondering how the plasterers of the 1920s prevented the excess plaster from falling down the inside and creating a big brick of plaster at the bottom. Well they didn't and that's exactly what I found.
Removing lathe and plaster is a very dusty business with lots of waste to get rid of but pretty easy I found. I'm still waiting to find hidden treasure, but since this used to be a bathroom I'll settle for a bit of copper under the floor.
👋
This is only my second bathroom I've done and I'm very much figuring it out as I go along. If you've done a similar bathroom project I'm very interested to hear:
- What you did for the floor (ply + tile backer vs keeping the floorboards +tile backer or something else)?
- Is electric UFH worth it/complicated to install?
- Where you bought your bathroom suite and tiles - I'm told plumbers merchants are best for suites?
---
I'm way behind schedule with everything. I had meant to be starting my workshop in the next few weeks but I haven't even designed it yet. I think I've got the floor and walls figured out (in my head) but am yet to weigh up joists vs SIPS vs insulated metal panels for the roof. Probably need a cost analysis. Anyway, I expect the newsletters to be DIY focussed for some time, no contemplative philosophical or financial pieces until I'm back on track.
Hit "reply" if you've got any comments on this week's newsletter – otherwise I'll see you next time. Have an epic week :)
P.s. If you think a friend will enjoy this newsletter, feel free to send them this link where they can sign up.
P.p.s. You can find all previous newsletters here.


